Employees
In Skill Lake, Administrators (users with Administrative privileges) can add and edit the employees, non-employees, groups, learning groups, and job titles for the organization. You can also define the knowledge areas in which the learners need to be skilled to excel in their job role. Click on the Administration tab and select the Manage Users section on the left side of the page. In the independent installations of Skill Lake, Administrators will have permission to add new users to the system.
Note: For the Skill Lake installations integrated through Infince, the users created through Infince will be displayed in the Employees and Non employees page.
Employees
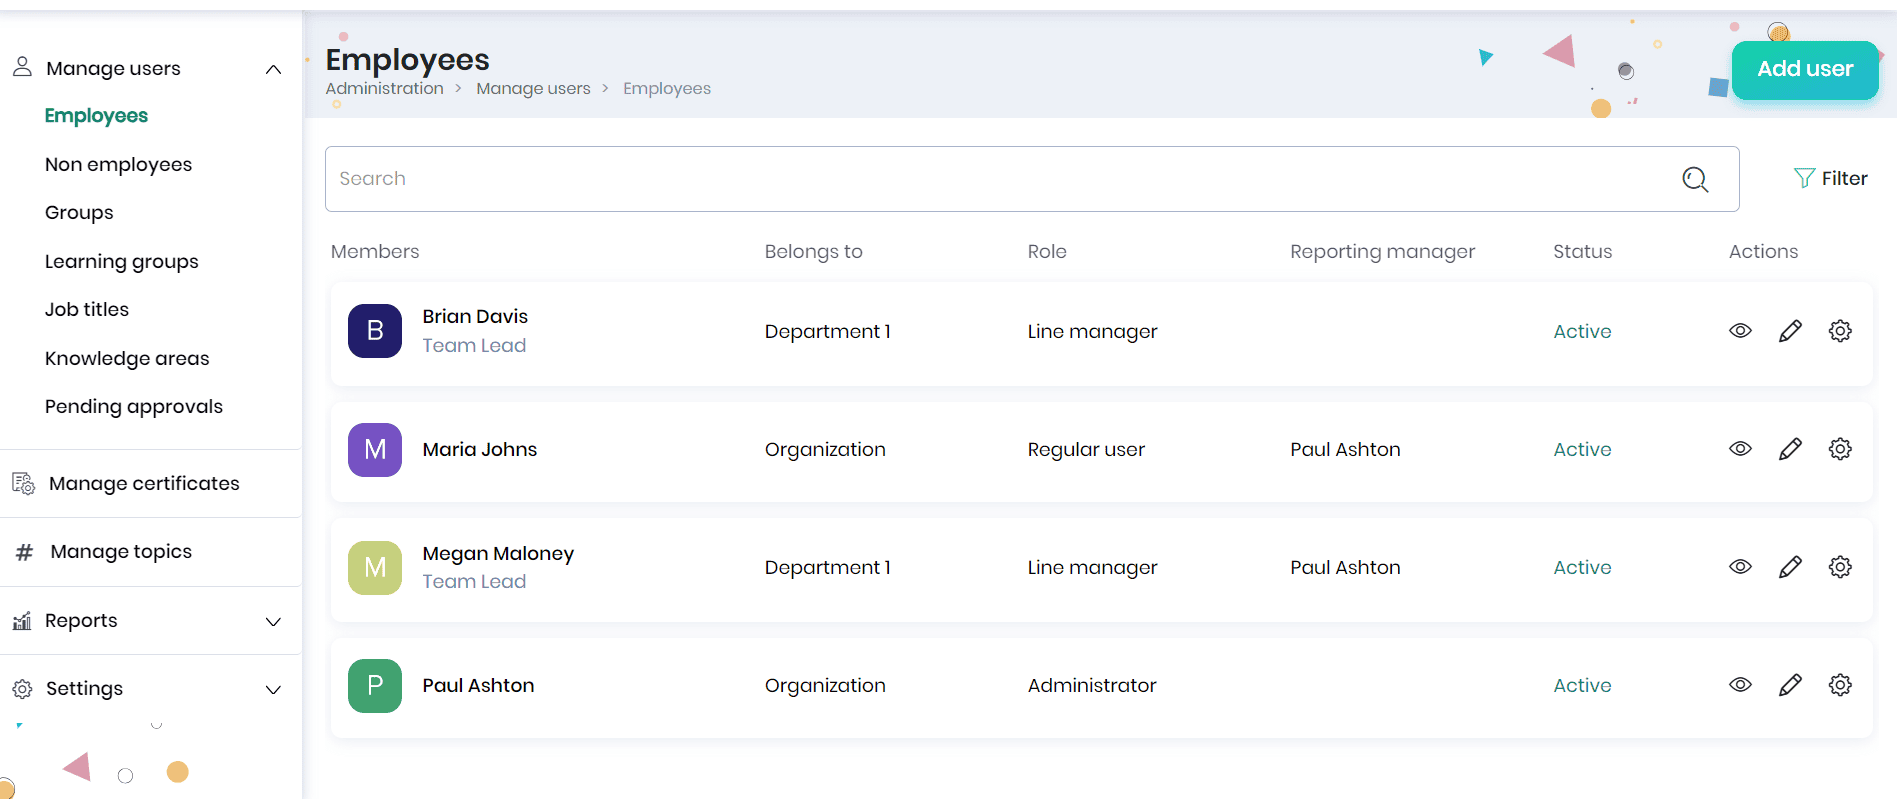
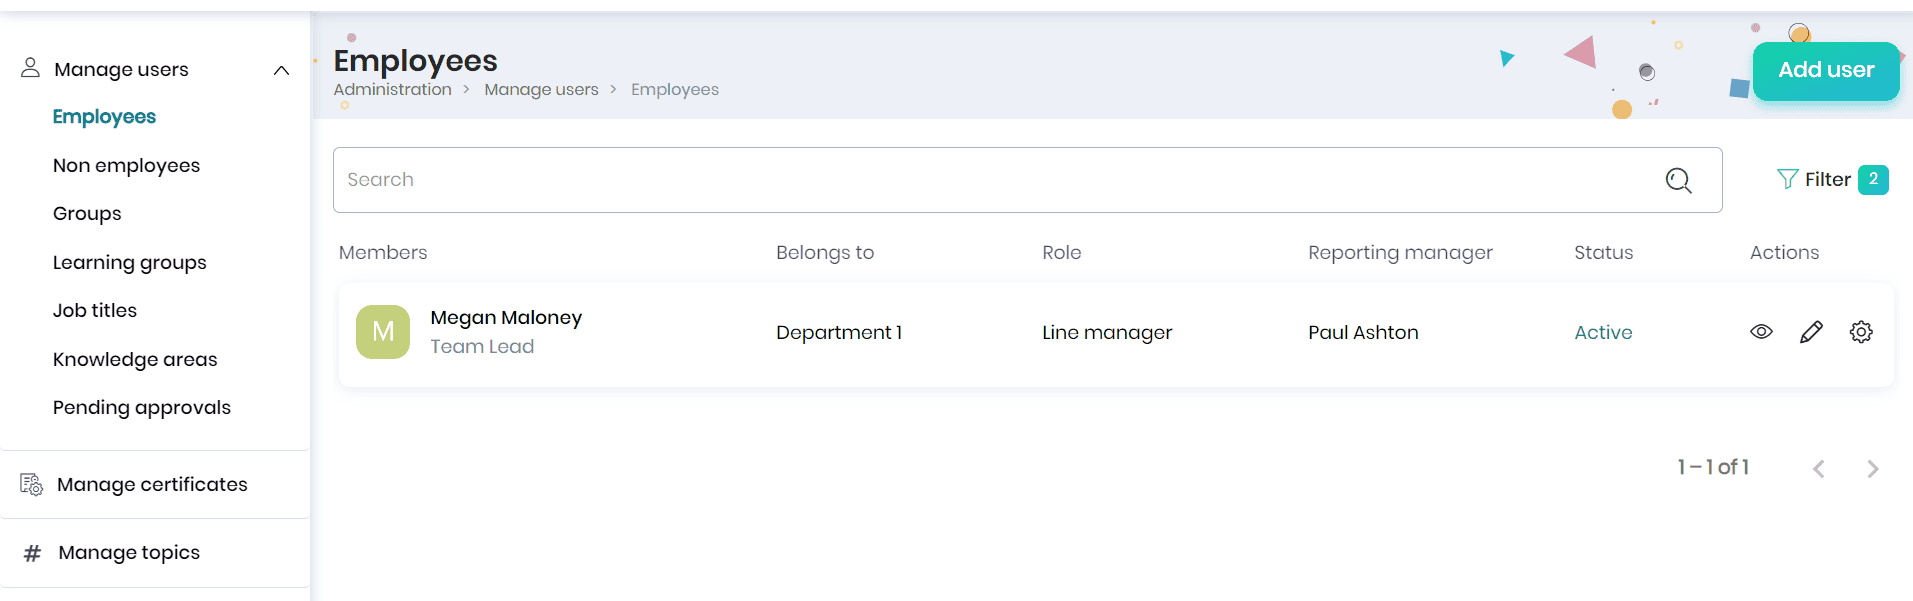
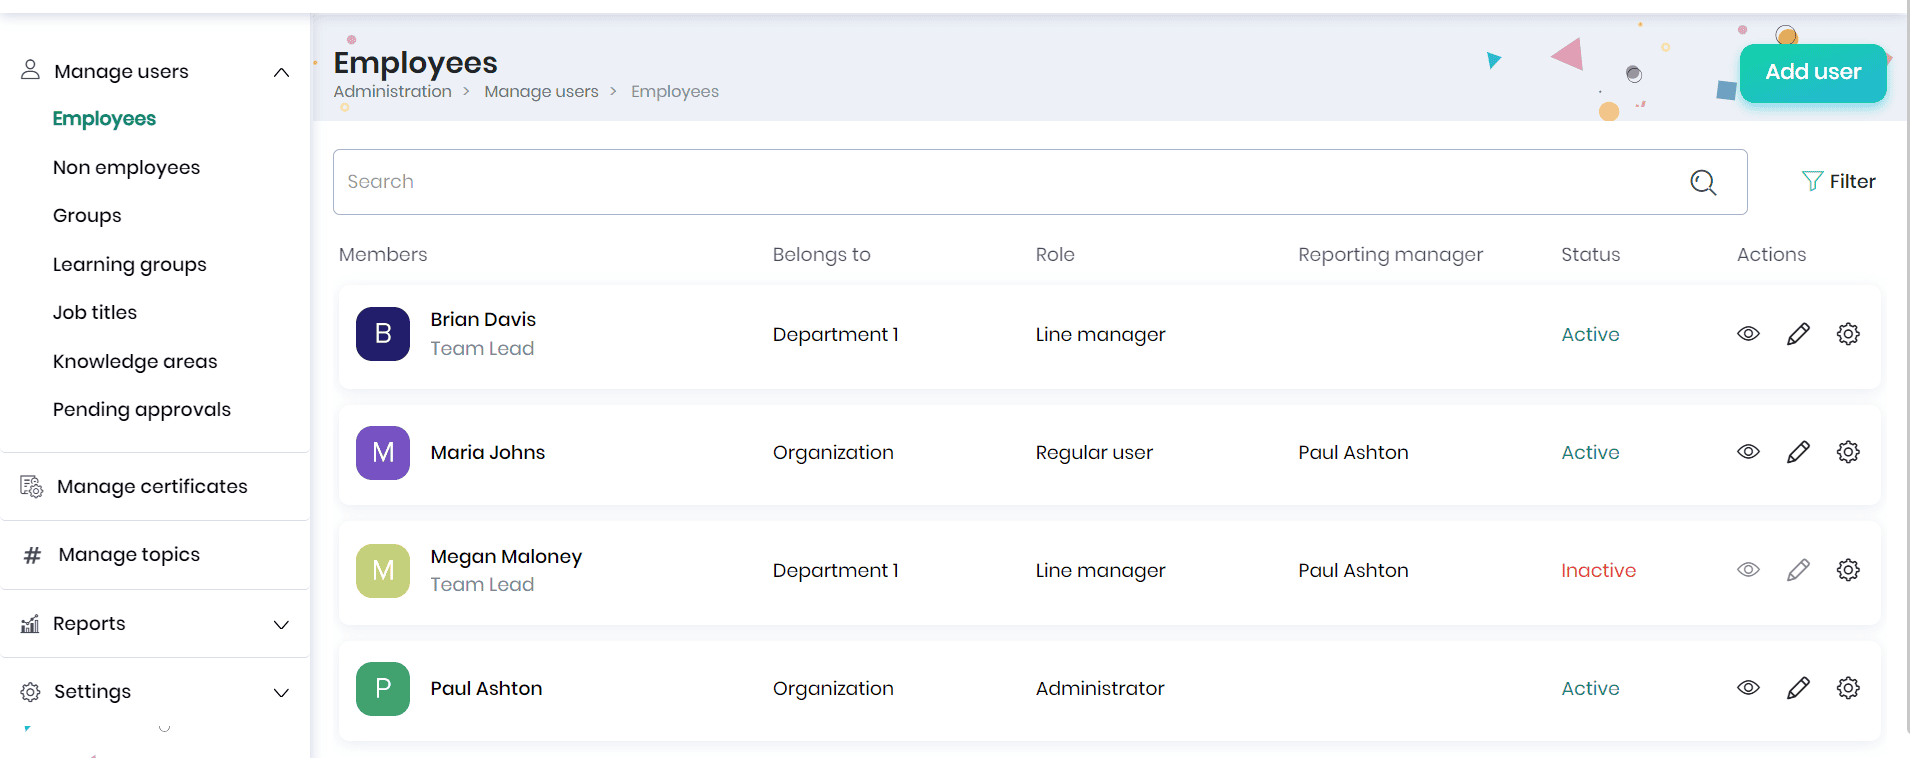
Organization users are the individuals within an organization who interact with the Application to facilitate or participate in learning activities. Click on the Employees option to view the list of users of Skill Lake.

Adding an employee
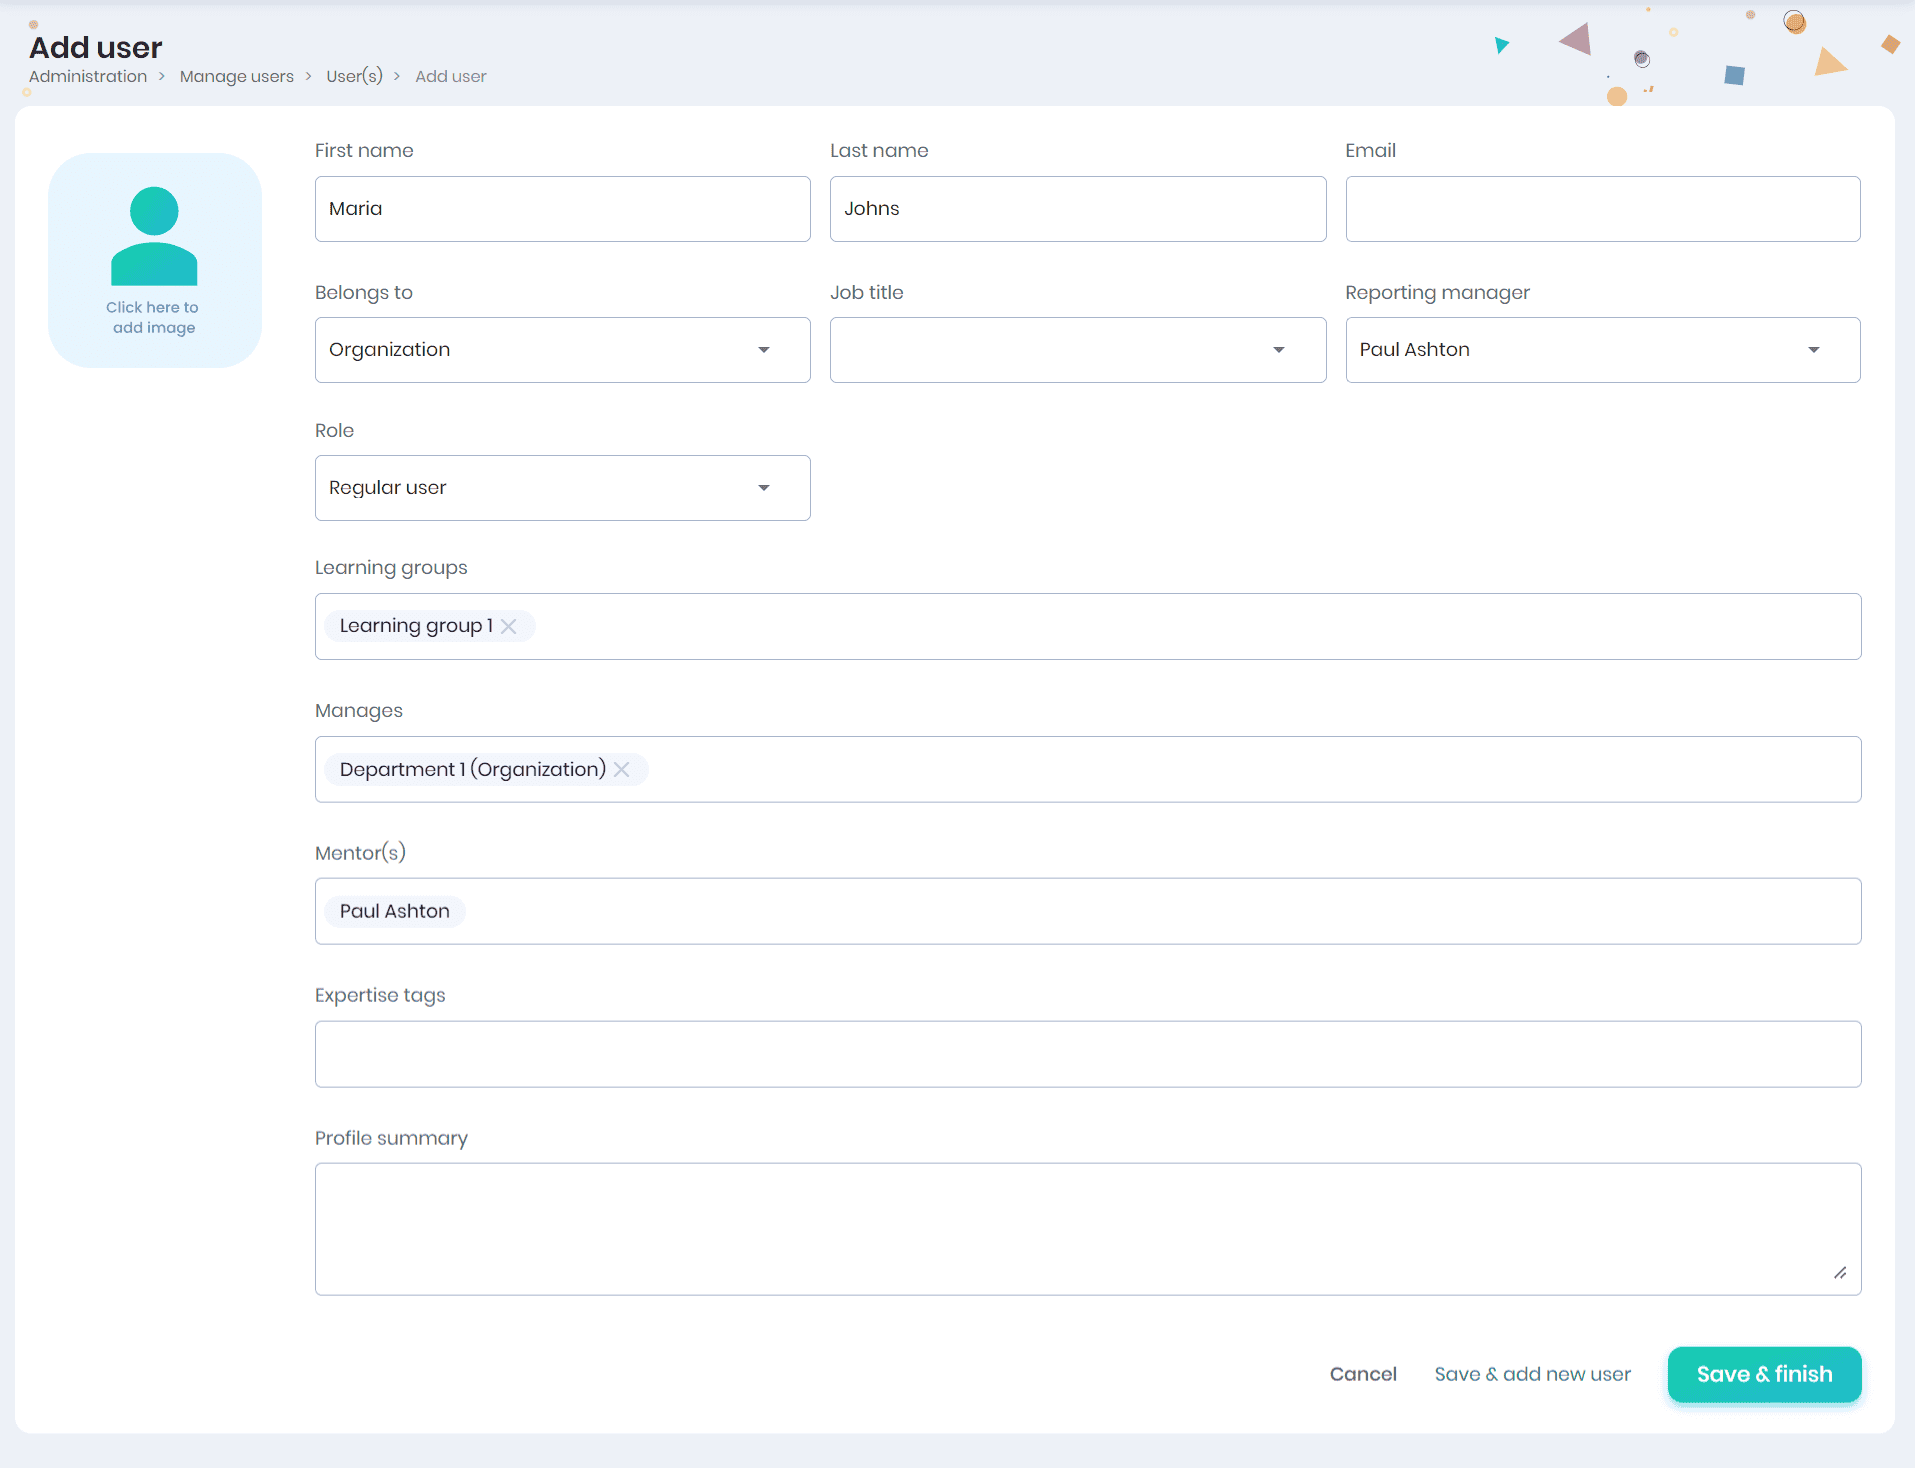
Click on the Add User button to create a new user profile. You can fill in the following details:
- First Name
- Last Name
- Email Address
- Primary Group (to which the user belongs)
- Job Title
- Job titles are available based on the groups the user belongs to
- Reporting Manager
- An admin can add only those users whom they manage, as the reporting manager of the created user.
- Role
- Date of Joining
- Learning Group
- The user will be added as a member
- Groups Managed by the User (under the Manages field)
- Mentors
- The reporting manager is assigned as the default mentor
- Expertise Tags
- Profile Summary
- Click on the Save button to create a new user.
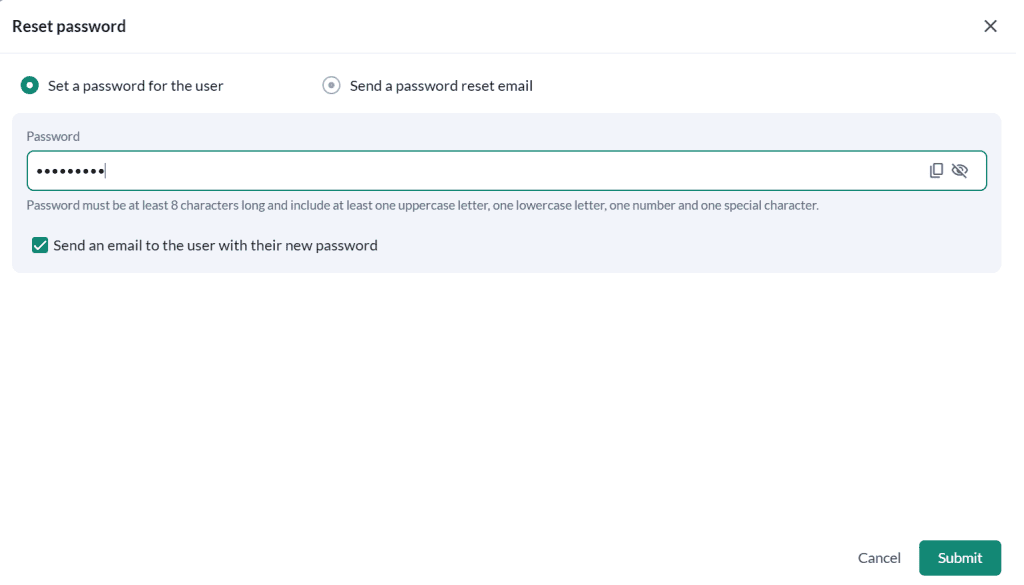
- Set a password for the user: Choose this option, if you want to set a password for the user and the users will be notified with their new password via email.
- Allow the user to set their own password: Choose this option to send an email to the user with a link to activate their account and set their password.
- Click on the Save & Add new user button to create the user and add another user.
- Click on the Save button to create a new user.
- The user profile created will be displayed in the Employees page.
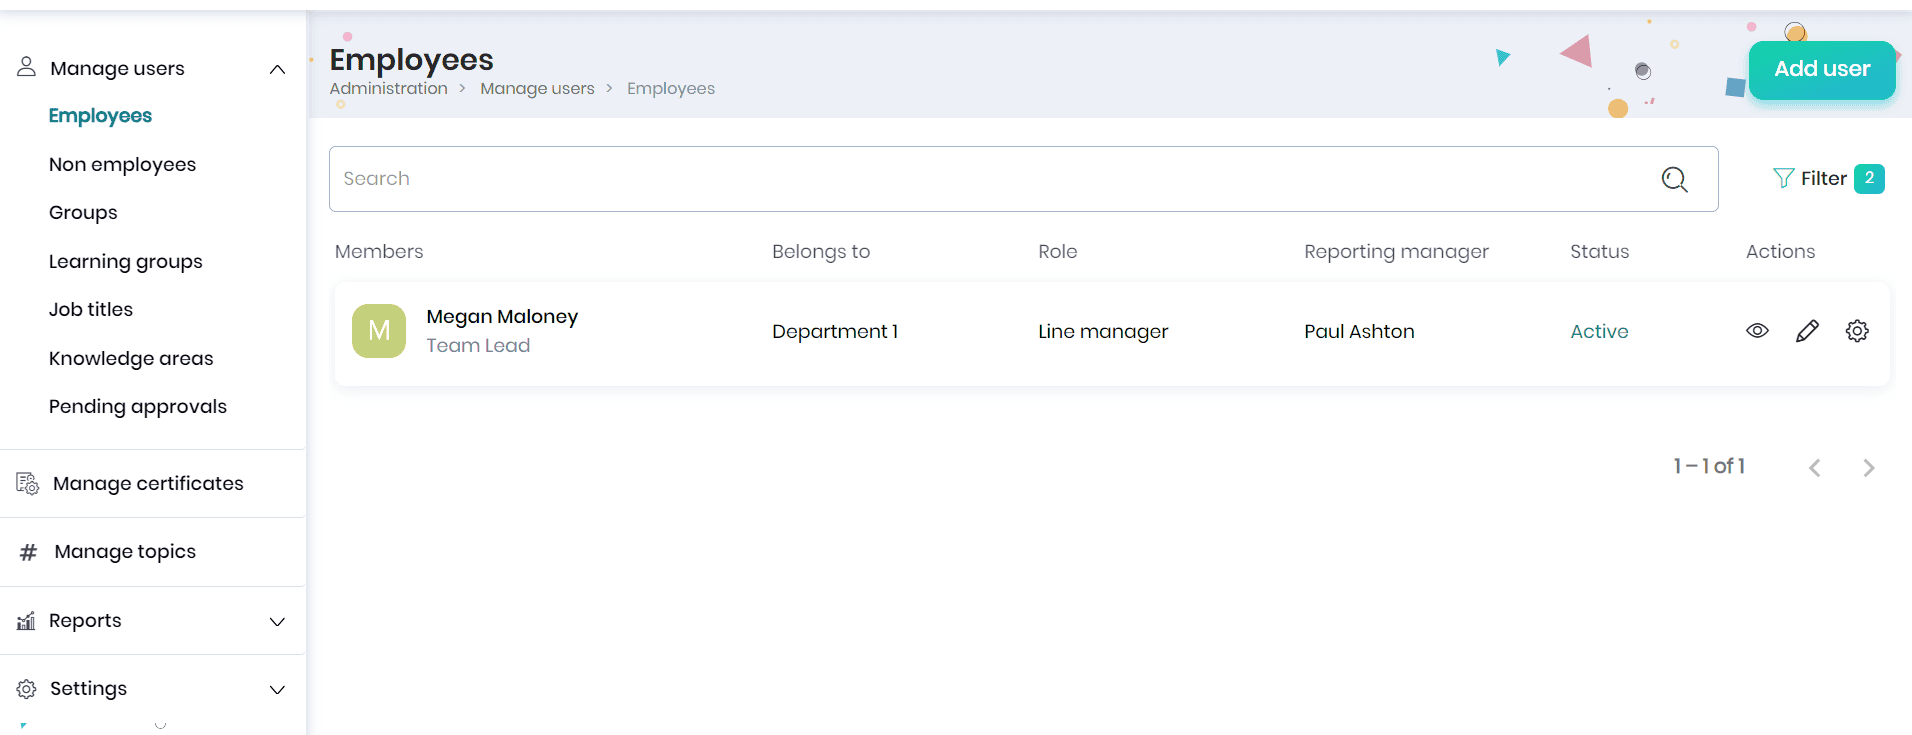
- Click on the Filter icon to filter the users based on their reporting manager, groups, expertise tags, roles, status, and click on the Apply button.

- The filtered entries will be displayed in the Employees page.
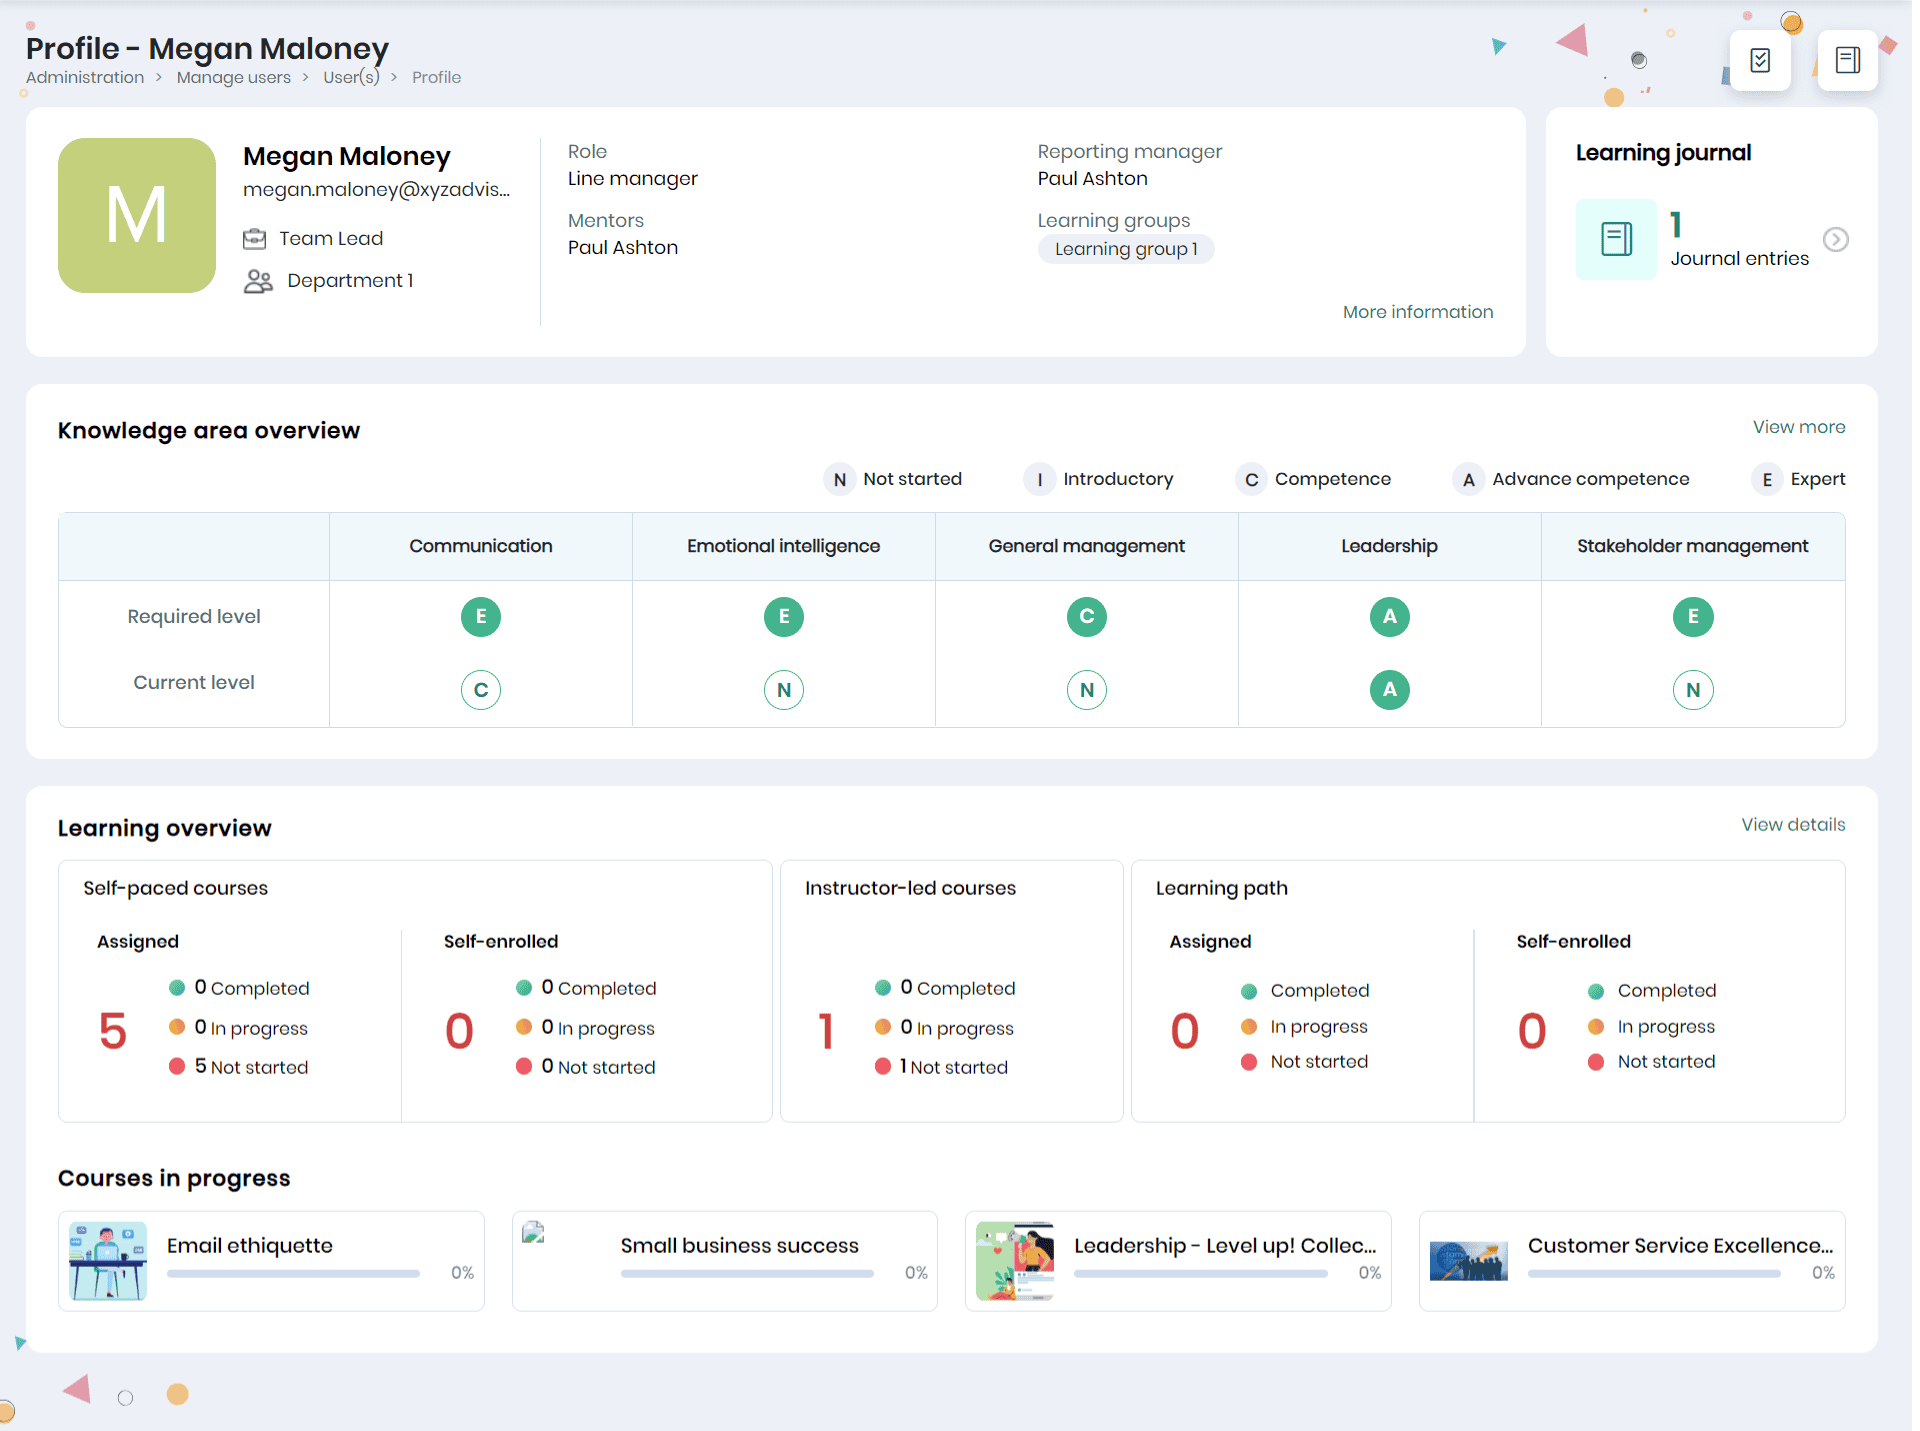
- Click on the employee name to view the profile details, learning journal, learning journey, knowledge area overview, learning overview, and recent achievements of the employee.
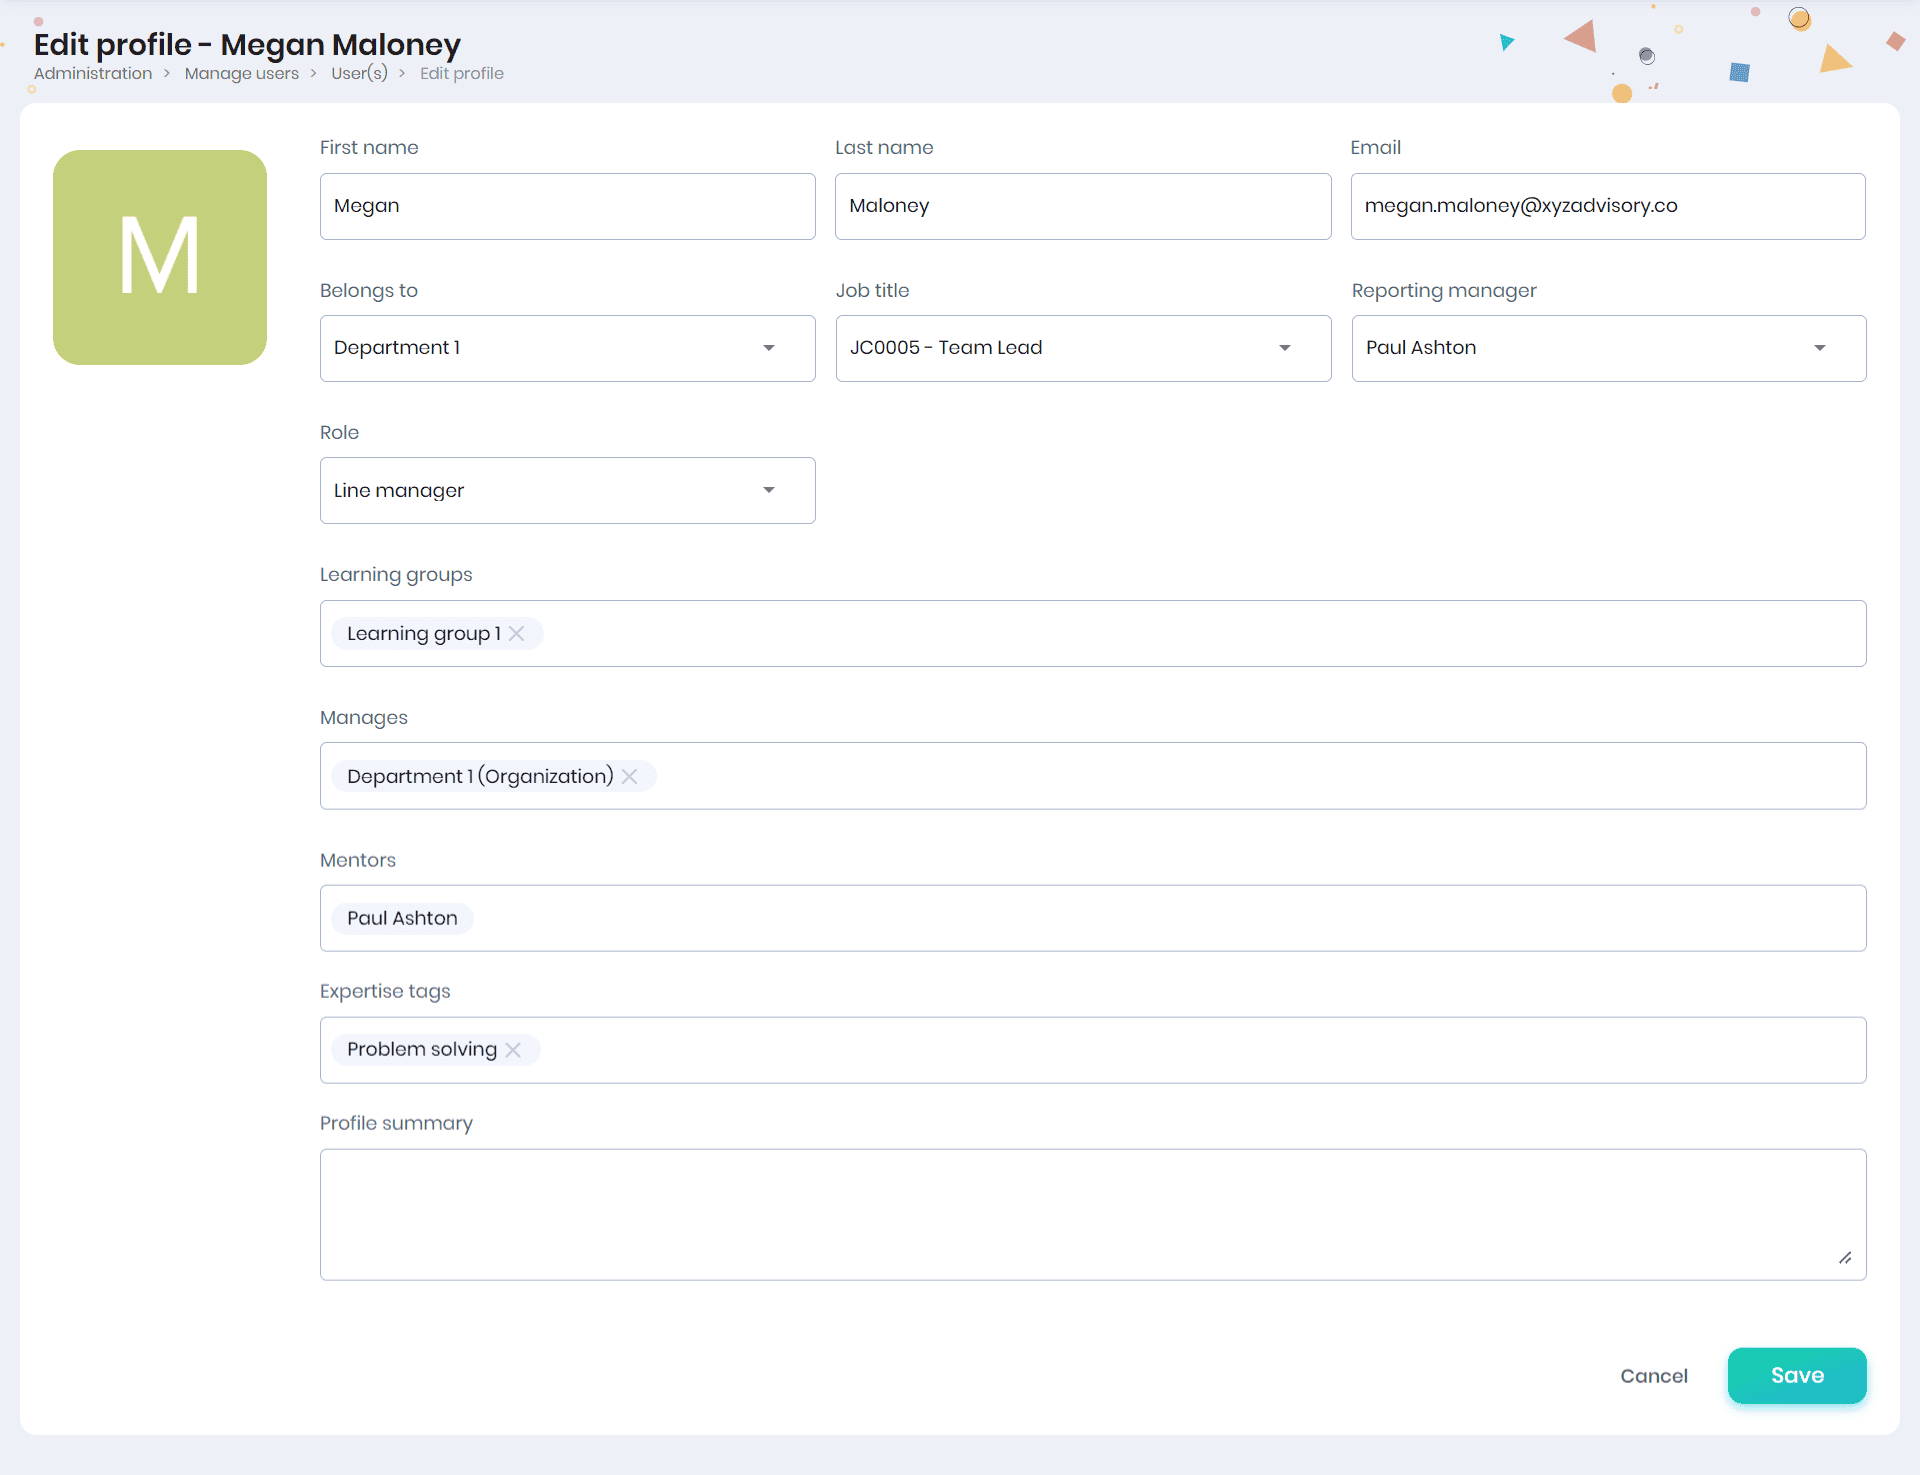
Editing employee profile
Click on the Edit icon to edit the employee profile. The first name, last name, profile picture, email address, belongs to (primary group to which the user belongs to), job title, reporting manager, role, date of joining, learning groups, manages (group/sub group the employee manages), mentors (learners which the employee mentors), expertise tags, and profile summary will be displayed. You can edit these fields and enter the job title (under the selected group), learning groups, groups managed by the user (under the “Manages” field), mentors, expertise tags, profile summary and click on the Save button.
Note:
- The group/parent group administrators (users with Administrative privileges) can edit the user’s profile information and enroll the user to courses. Admins will be able to perform these actions based on the User management permission in their Skillake Role.
- For the Skill Lake installations integrated through any 3rd party integrations, while editing the profile, ‘Belongs to’ field will be displayed from Infince. Based on the data synced to Skill Lake (SL), the admin will have the ability to modify profile information.
- The edits made to your profile will be displayed on the Employees page.
Reset password
You may reset the user’s password or allow the user to set their own password.
Note: After the reset email is sent, the old password will no longer work. The user must set a new password using the reset link to sign in again.
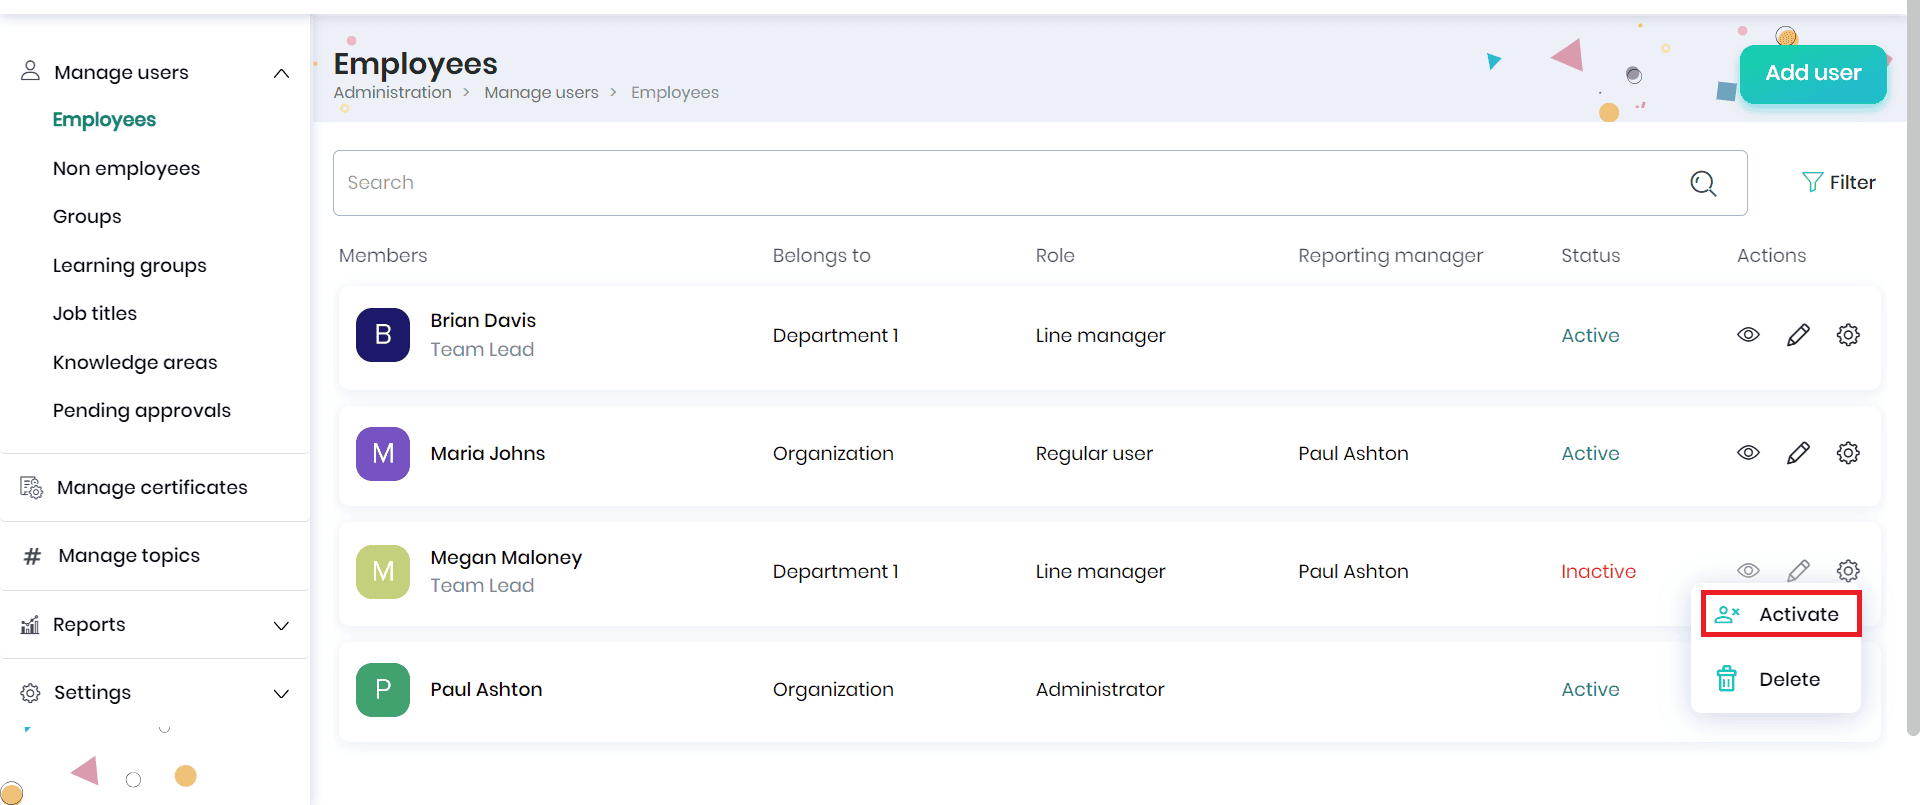
Deactivate the employee
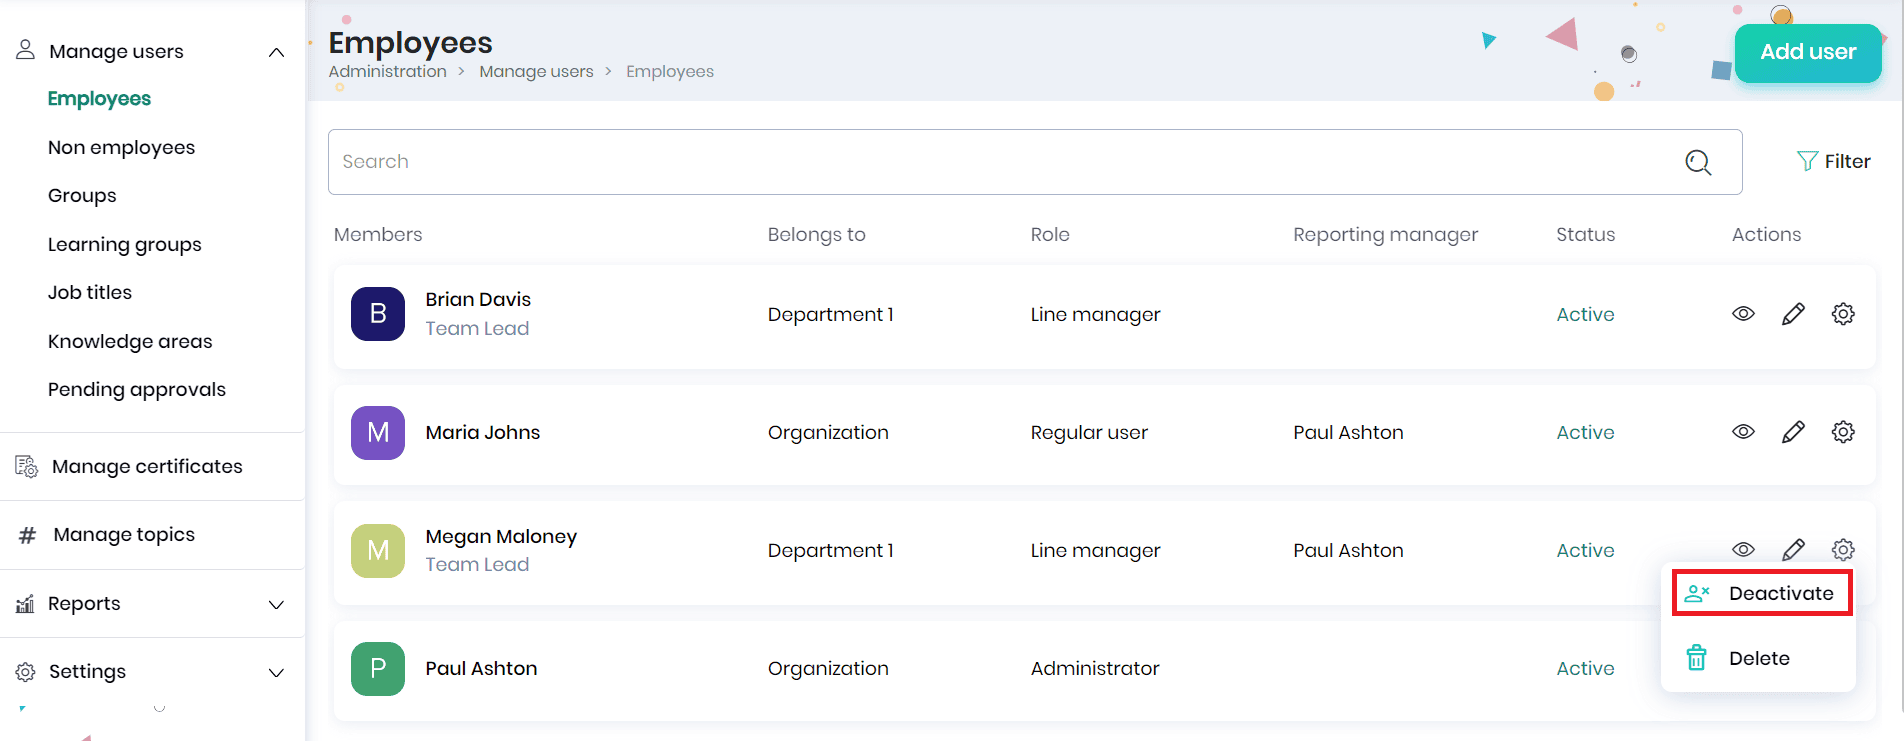
- Click on the Settings icon against the employee and Deactivate option.
- A confirmation message will appear, where you may click on the Yes button to deactivate the employee.
- Once the employee is inactive, their access to Skill Lake and the email and push notifications will be blocked.
- To activate the employee, click on the Settings icon against the employee and Activate option.
- A confirmation message will appear, where you may click on the Yes button to activate the employee. The employee’s access to Skill Lake will be restored.
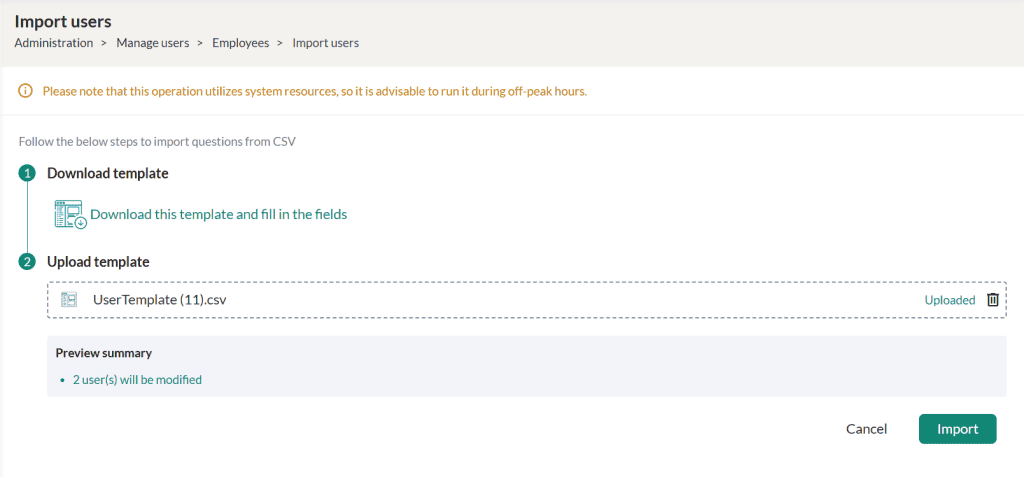
Bulk Import of users
Admins can efficiently add multiple users at once using the Import users option located under Administration > Manage users > Employees List. This feature is accessible to all admins with the appropriate permission to add users.
To begin, click the Import Users button. You’ll be directed to a page where you can download a sample template. Fill in this template with the necessary user details, then upload it back into the system to start the import process. After importing the file, the system will validate it and display the number of users to be added, the number to be modified, and any errors found. This information will be shown to the admin, who will have the option to download the error report and fix any errors before re-importing the file.
The bulk import is processed as a background job, it may take some time to complete. Once completed, an email report will be sent to the admin with the status of the bulk import action.Choose Yes In the ‘Send activation email to new users upon account creation’ field, Click on the Import button.
Note:
- If there are any issues while uploading the template, you can download the error report and fix the issues and reupload the template.
- While importing the users as bulk,
- If the Admin user fills the Password field, the provided password will be set for the user and Welcome email with Password will be sent to user
- If the Password field is empty, a Welcome Email with an activation link will be sent.