Creating Self-Paced Courses with your content
The Content Creator (users with Content Creation privileges), Administrator (users with Administrative privileges), or any user with permission to create courses can create two types of courses on Skill Lake: Self-paced courses and Instructor-led courses.
Self-paced courses are courses that the learners can pursue at their own pace. These courses do not have an instructor, live sessions, or definite start and end dates.
The courses you have set the course visibility as Open will be available for all in the Browse courses (Course library) tab. You can restrict the course to a specific group/learning group by setting the course visibility as Restricted. It will be available only to the learners of the specified organizational groups/learning groups in the Browse courses (Course library) tab. By configuring and selecting the certificate template, you can decide whether the course offers a certificate.
Creating a Self-paced course
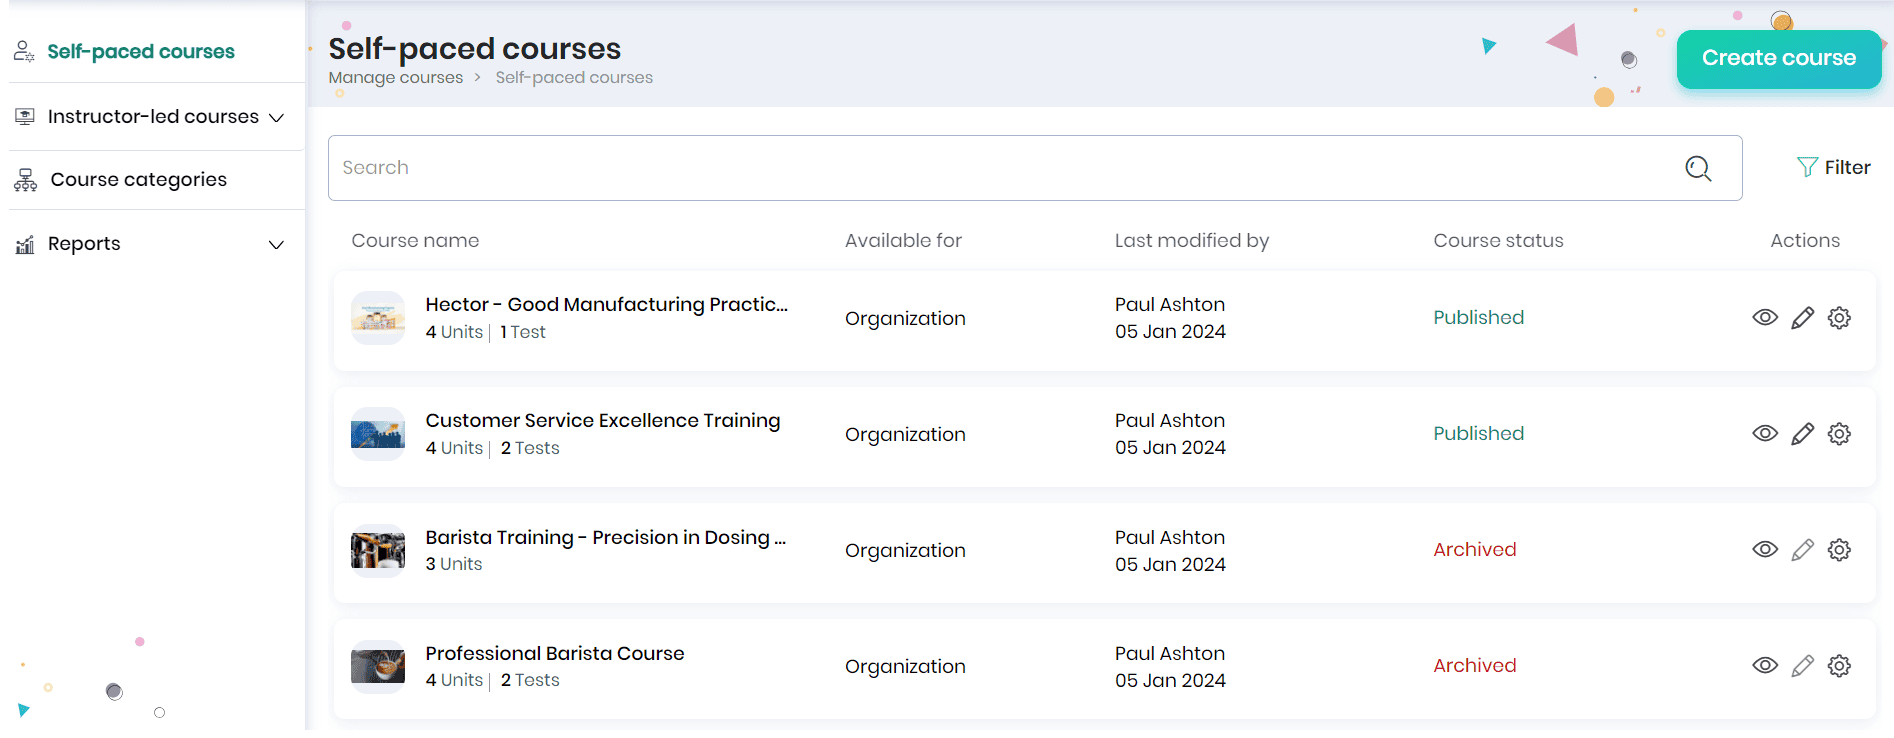
To create a new “Self-paced” course, click on the Manage > Courses tab. You will be navigated to the Self-paced courses page, where you can click the Create coursebutton to start creating courses.
Course Information
You will navigate to the Create course page to enter the course’s basic information.
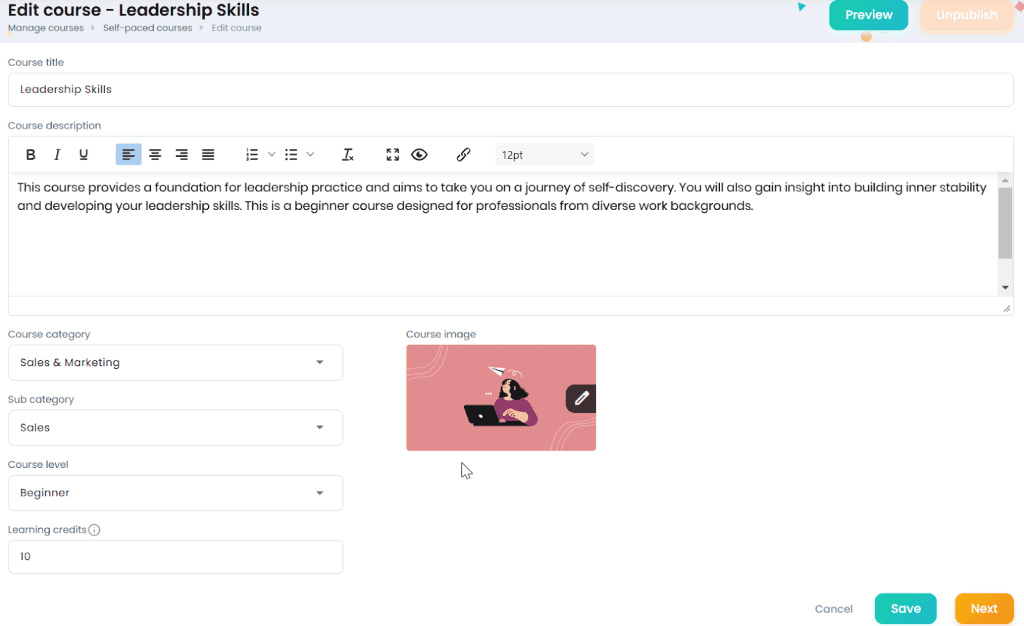
In the Course Information section:
- Enter the course title and course description.
- Select the course category, sub-category, course level, and course image.
- Enter the learning credits that the learner achieves on completing this course.
- Click on the Save button to navigate to the Course Settings section.
Course Settings
This section helps you to configure the course author, course owner, groups/subgroups to which course is accessible for, allow the course to be published outside Skill Lake and configure certificate on course completion of the course.
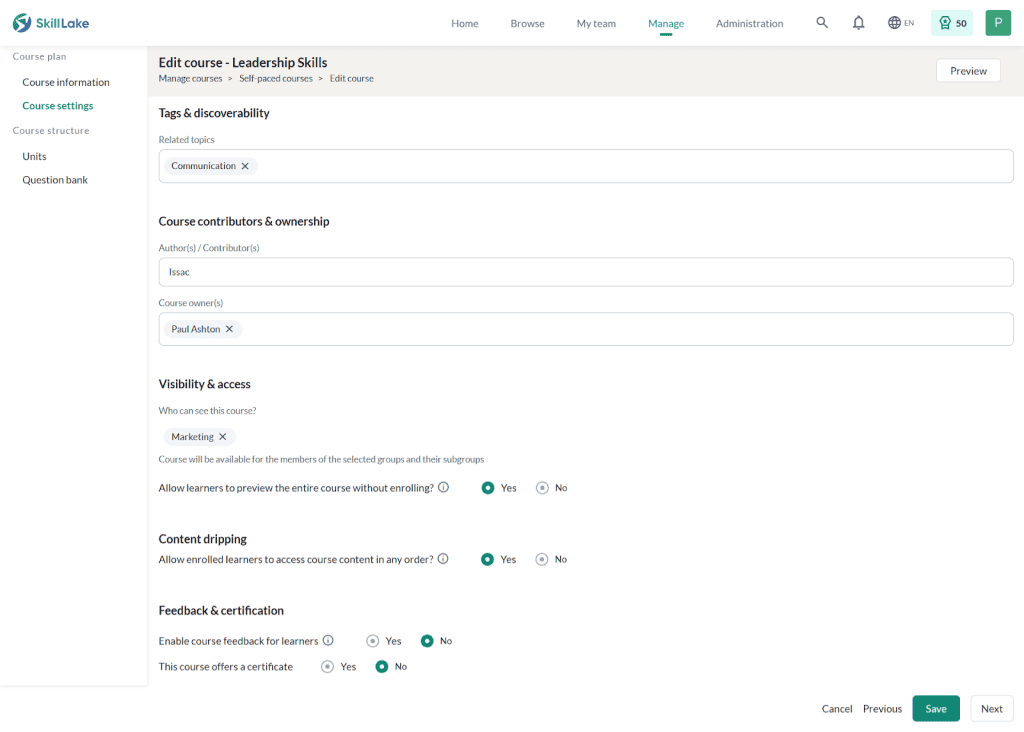
The Course Settings helps you to configure the following:
- Search tags or Topics to which the course is related (tags based on which the course can be searched)
- Authors or Contributors (external or internal authors) are entered to acknowledge their contributions and give them due credit.
- Course owner(s) (course owner can manage the book provided he/she has the required roles and permissions)
- Who can see this course (groups/learning groups/sub-groups to which this course is available). The course will be available for the members of the selected groups, learning groups, and their subgroups.
Note: Access/Visibility of restricted course:
- Learning: Under the Browse Courses tab, the courses are restricted to the organizational groups/ learning groups they belong to.
- Mentoring: Mentors can assign only those visible courses to both them and their learners.
- Course Management: Only those who create the restricted course/course administrators/those who have permission to manage all courses will be able to manage such courses.
Share the course to external users

- Choose the ‘Yes’ option to allow the course to be visible outside Skill Lake. A URL will be generated and can be shared with the external users of Skill Lake. Click on the Save button to save the changes made.
Enabling course preview only after enrollment

- Choose the ‘No’ option next to ‘Allow learners to preview the entire course without enrolling?’ to keep the course content private until learners enroll. This is useful for certification or compliance courses where the content shouldn’t be visible upfront. By doing so, learners can access the course content only after enrollment.
Unlocking the course content in any order
- Choose the ‘No’ option next to ‘Allow enrolled learners to access course content in any order?’ if you want learners to access the course content in a sequential order, promoting structured learning.
Course enrollment expiration
- Choose the Yes option in the ‘Set expiry for learner’s course enrollments’ option to set an expiry date for this course. Enter the number of days the course remains valid after the completion date.
- Tick the ‘Enable auto re-enrollment’ option to enroll the learner automatically when its validity is over. Enter the number of days within which the learner has to complete learning this course.
Enabling course feedback for learners
- Choose the Yes option adjacent to the ‘Enable course feedback for learners’ option and select the feedback form from the ‘Select feedback form’ panel bar. To view the feedback form, click the View icon, and click the Edit icon to change the feedback form.

Including Certificate for the course
- Choose the Yes option adjacent to ‘This course offers a certificate’.
- The learner will be issued a certificate for completing the course.
- Click on the below icon to select the certificate template for the course from the available templates. Refer to the article Managing Certificates.
- Click on the Done button to save the changes made.
- To move to the ‘Course Information’ section, click the Previous button. A confirmation message appears, and you may click on the Confirm button.
- Click on the Save button to save the course settings.
- Click on the Next button to navigate to the next screen to create the course units.
- Click on the Cancel button to cancel the course settings.
Course Structure
A course is structured as a set of “Units”. Each unit can have one or more “Content” blocks and “Tests” in between or at the end. Click on the Add unit or Import units icon to add/import units.
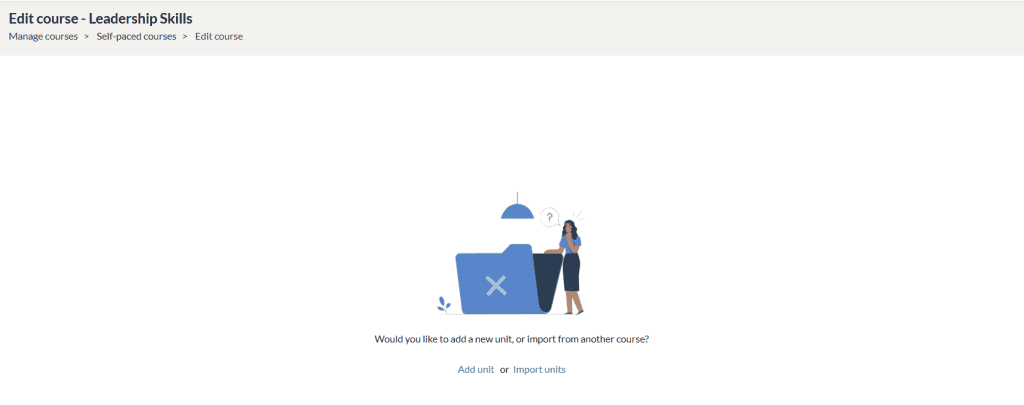
Units
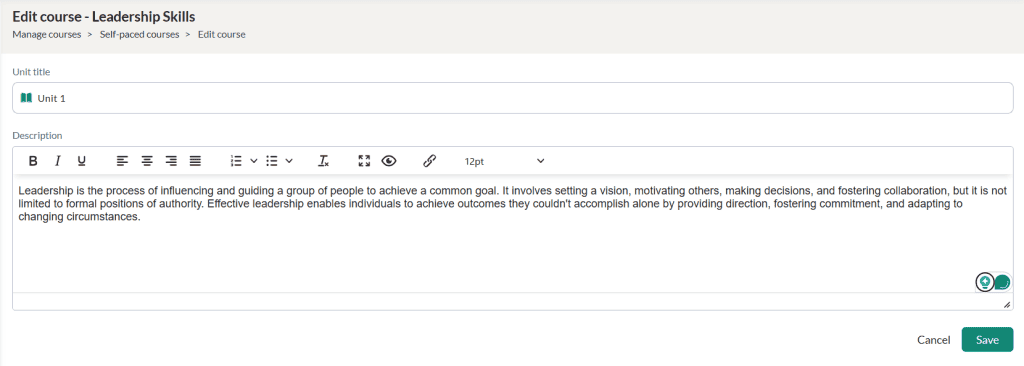
- Click on the Add Unit button to create a new unit to the course. You may also create units by importing from another published course.
- Enter the unit’s name, to be created, and a brief description (to give the learners a clear understanding of the unit), and click on the Save button.
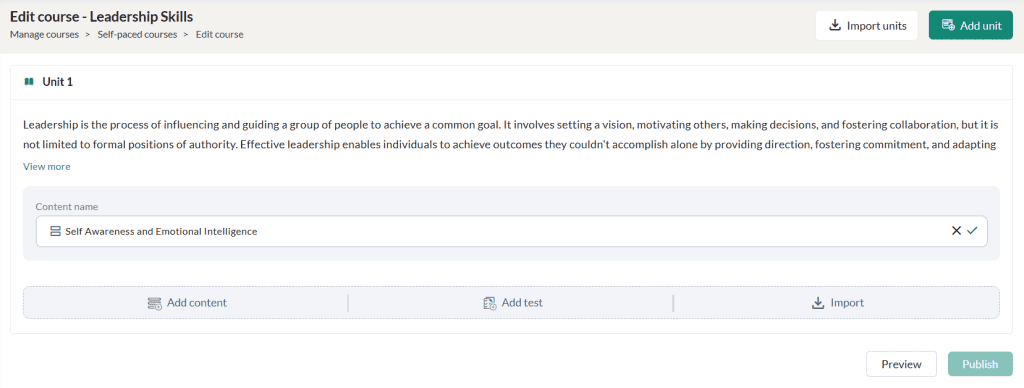
- In the Units section, you can add the learning materials.
- Click on the Add Content to begin adding a content by first providing a title/name for the content.
- The Content Name (or title) can be keyed in this field and click on the tick button to Save.
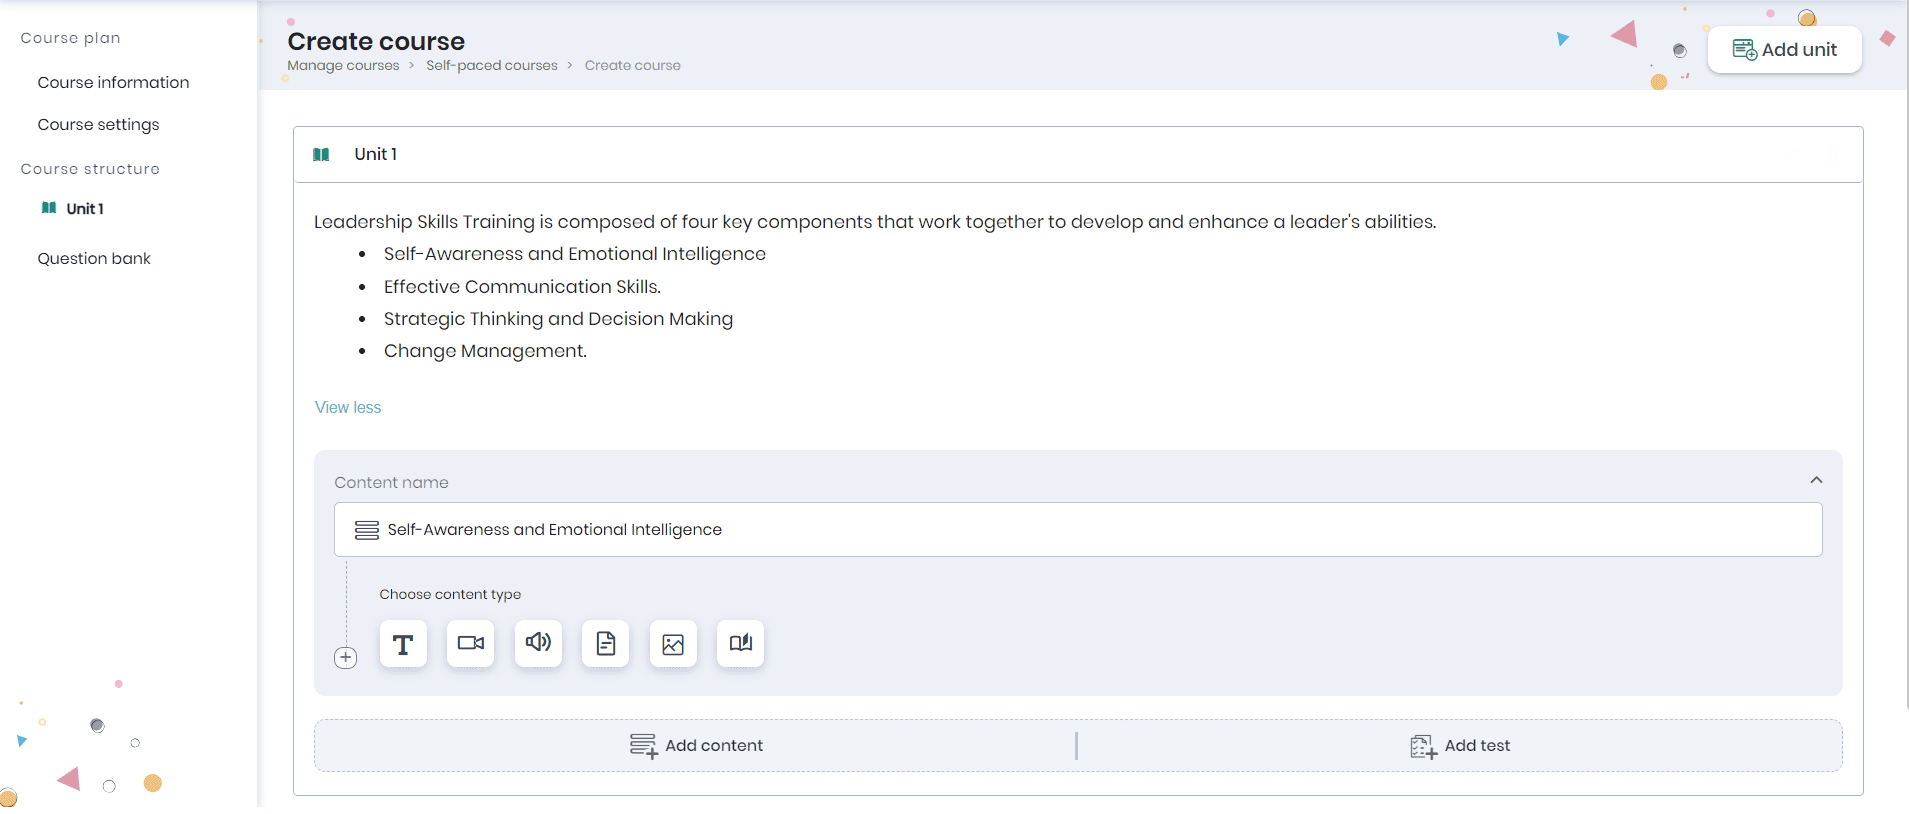
- A “content” block is a mashup of text, video, audio, images, documents/PowerPoint presentations, or SCORM content sequenced in the mentioned order.
- You can click on the desired icons to add the respective material.
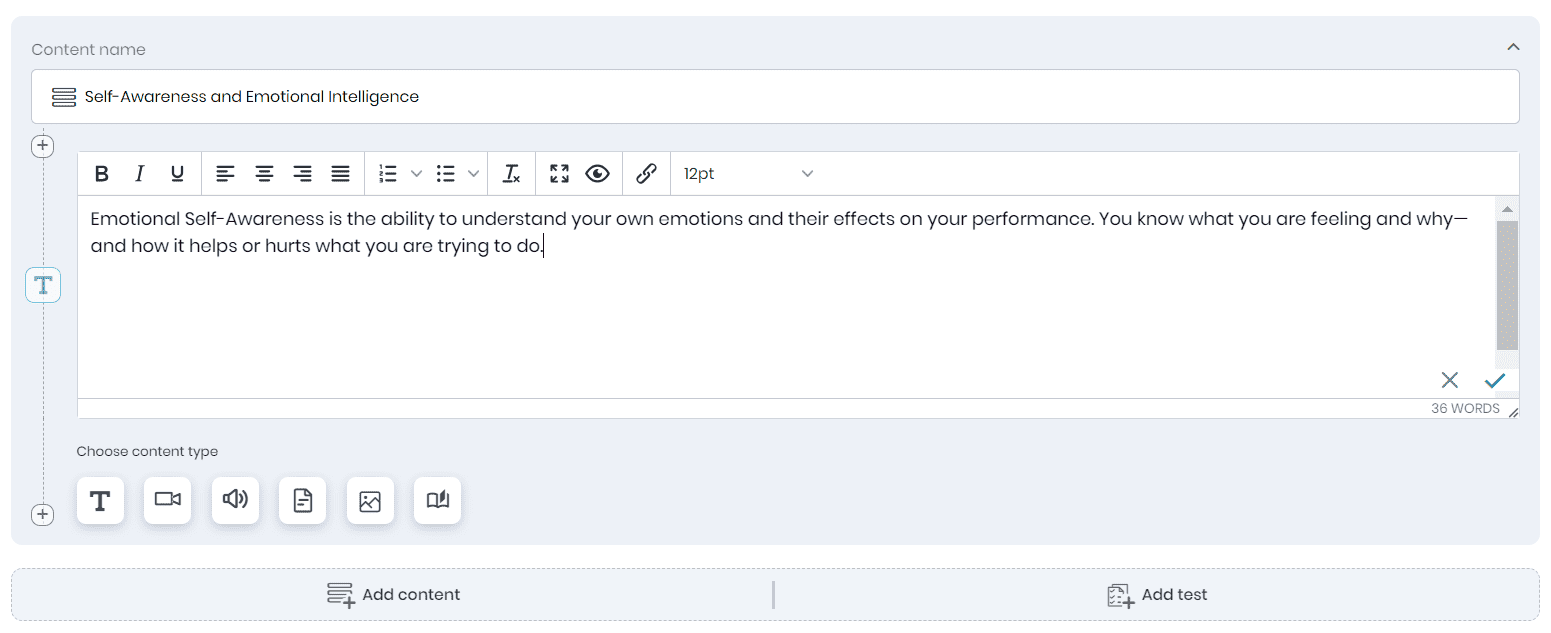
Text Box
- Click on the Text box icon to include text material within the content. You can format, align, number, and insert links to the content and click on the tick button to save.
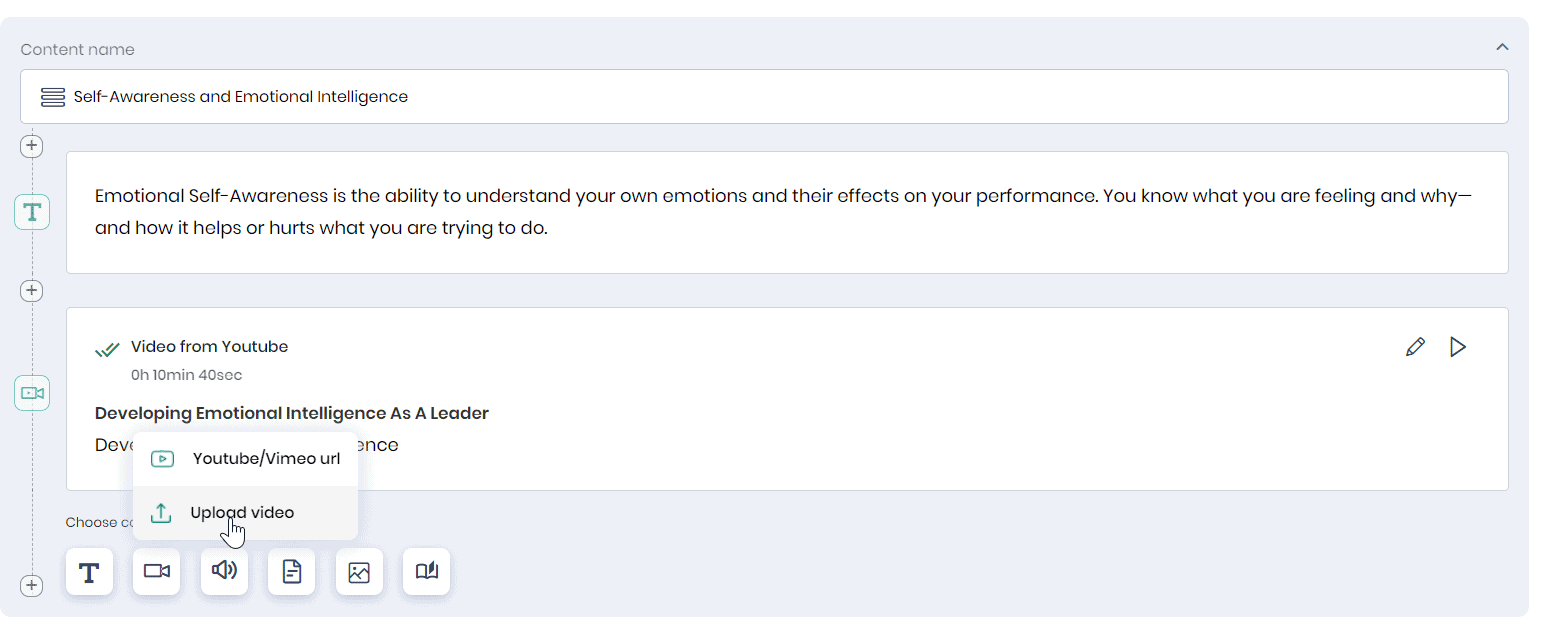
Video
Click on the Video icon to add video material to the content. You can add the video as a Youtube/Vimeo url or can upload the video from your system.
Adding video as Youtube/Vimeo URL
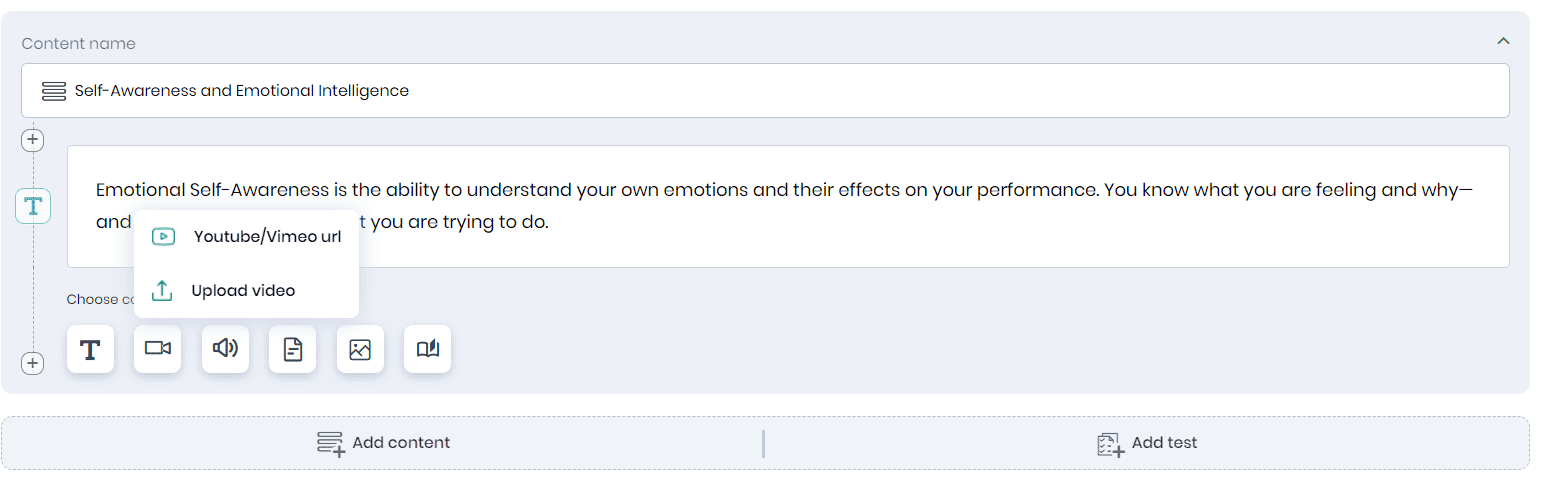
- Click on the Youtube/Vimeo url icon to add the video url.
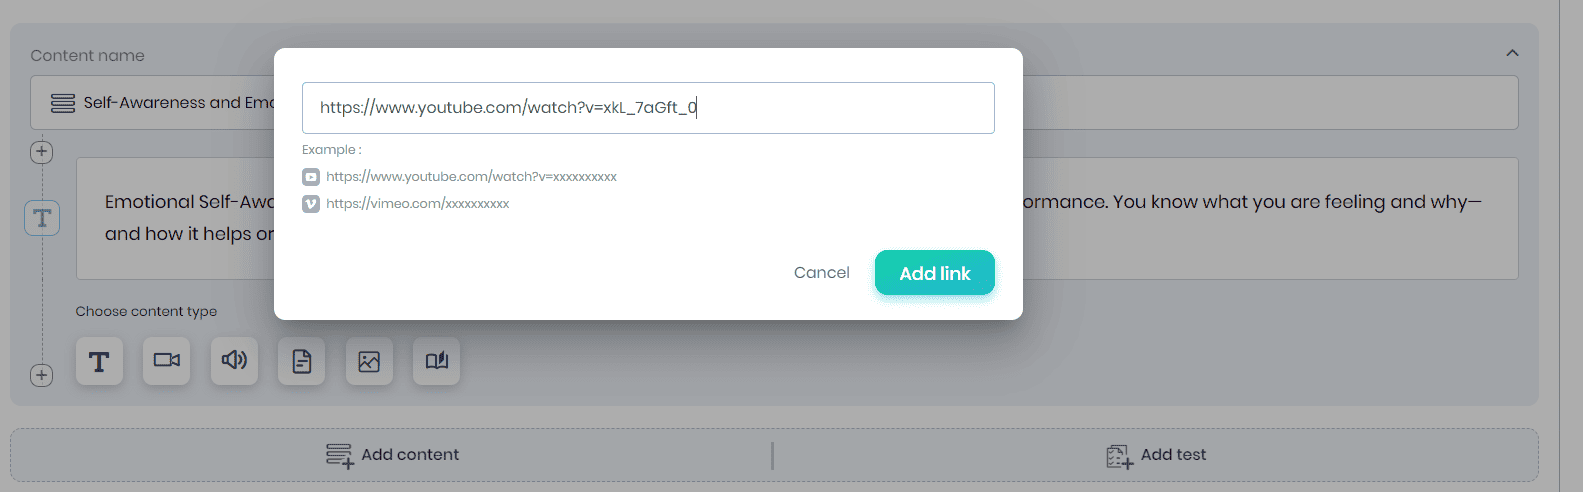
- Click the Add link button to save the video to the course content.
- Tick the ‘Lock video scrubbing’ option to disable learners from skipping the video content.
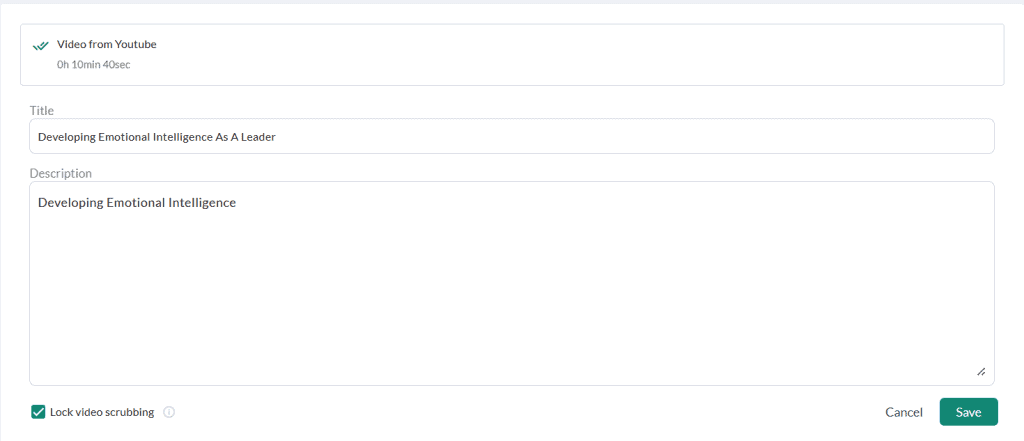
- Click on the Save button to save the video to the course content.
Adding video from your system
- Click on the Upload video icon to upload the video from your system.
- Upload the video by drag and drop or browse from your system. You may upload the video in mp4.
- Tick the ‘Lock video scrubbing’ option to disable learners from skipping the video content.
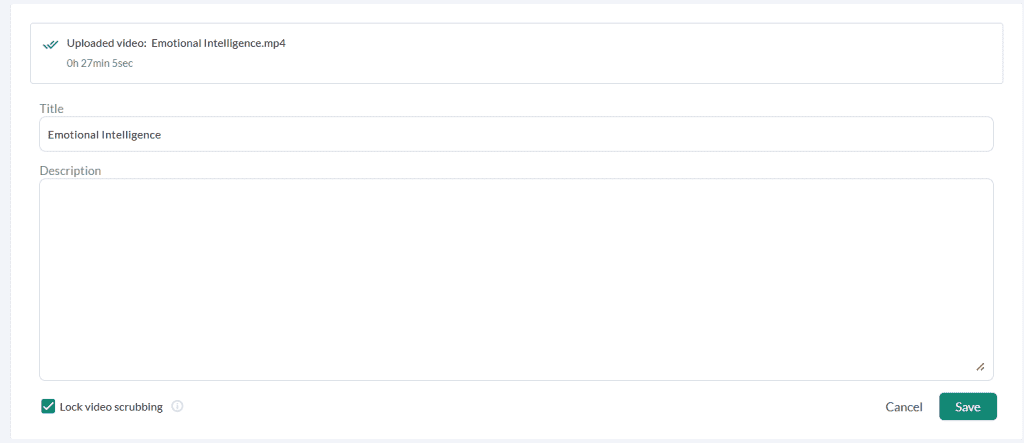
- Click the Save button to start uploading the video to the course content.

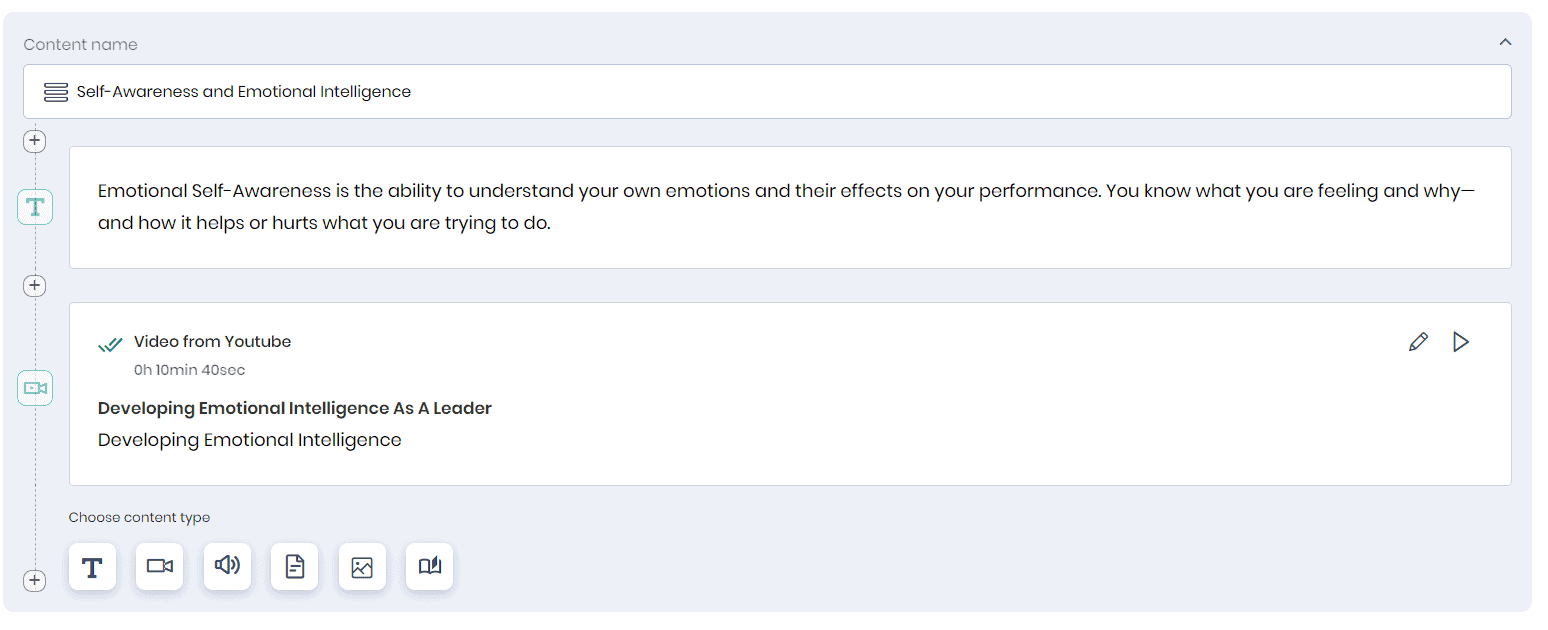
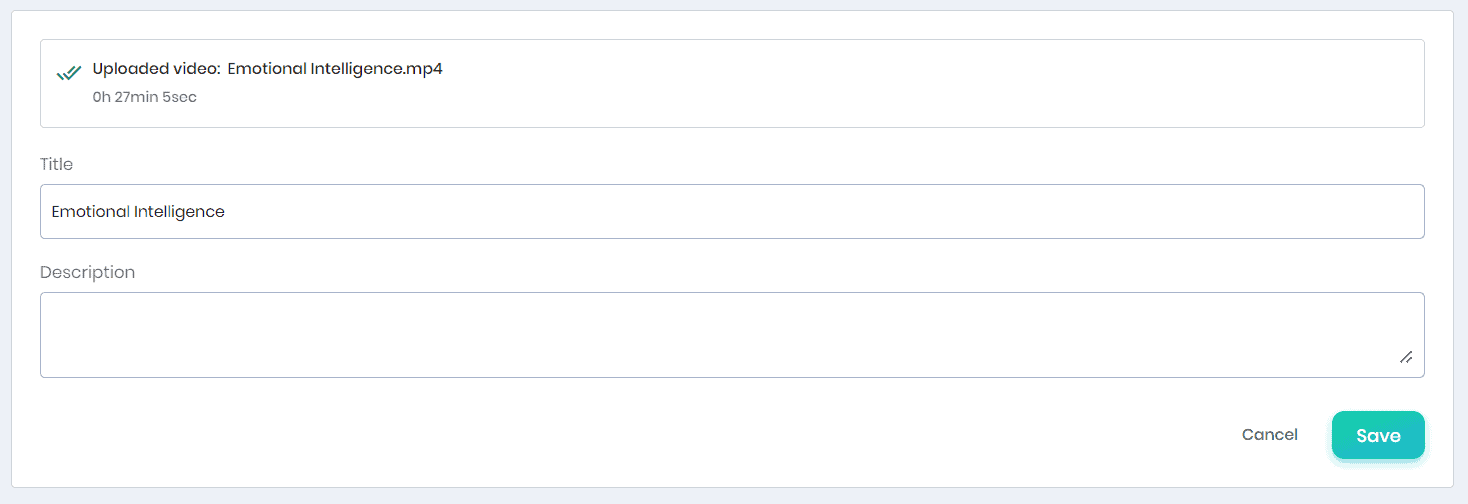
- The uploaded video will be displayed as shown below.

- Click on the Edit icon to edit the video title and description.
- Click on the Play icon to play the video.
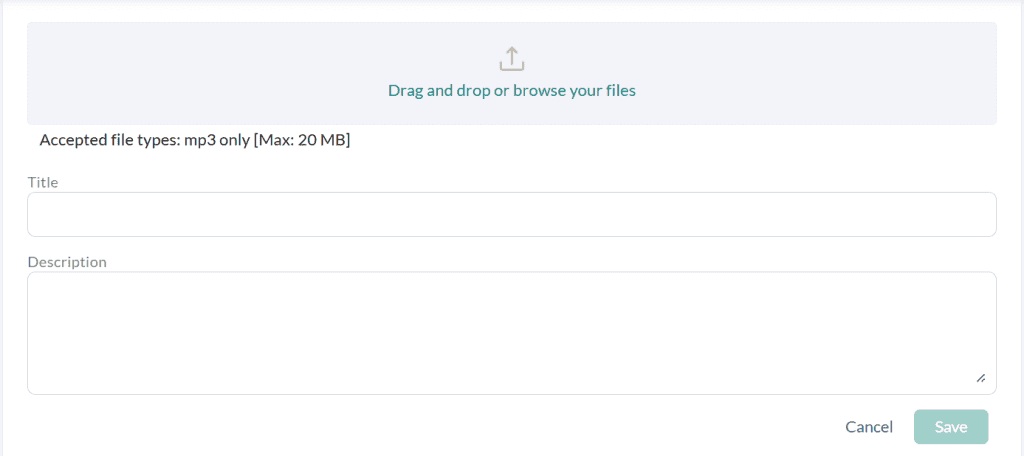
Audio
- Click on the Audio icon to add audio to the course content. Upload the audio file in mp3 format, enter the title and description and click on the Save button to save the audio file.
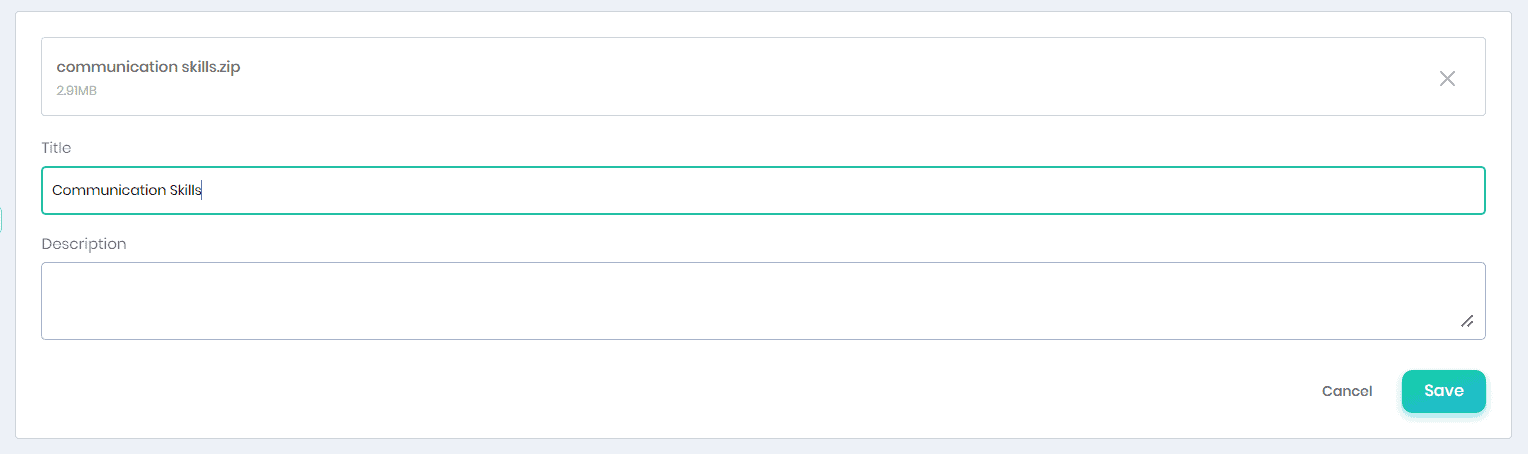
Document

- Click on the Document icon and the Upload Document option to add a word, excel or pdf document to the course material.
- Click on the Upload PPT to upload a PowerPoint presentation. Browse and select the document and it will be added as part of the content block.
- The Allow learners to download this document option helps the learners to download the document during their learning process.
Image
- Click on the Image icon to add an image to the content block.

SCORM file
- Click on the SCORM icon to upload the SCORM package.
- Enter the title and description of the SCORM package and click Save.
- Also, you can hold and drag the icon on the left to rearrange the course material.
- If you want to add new material between 2 existing ones, click on the “+” icon on the left and add the desired content type.
- Once the content is saved, it gets added to the Unit.
Adding units
- Click on the Add Unit button on the right side to add more units to the course.
Adding AI role play
The Role Play Scenario feature lets course admins create interactive, AI-driven conversations that simulate real-life situations. Learners can practice responding to different scenarios in a safe and guided environment.
When creating a role play, define the scenario and the roles for both the learner and the AI partner.
- Click the Add AI role play button to add a role play for the course.
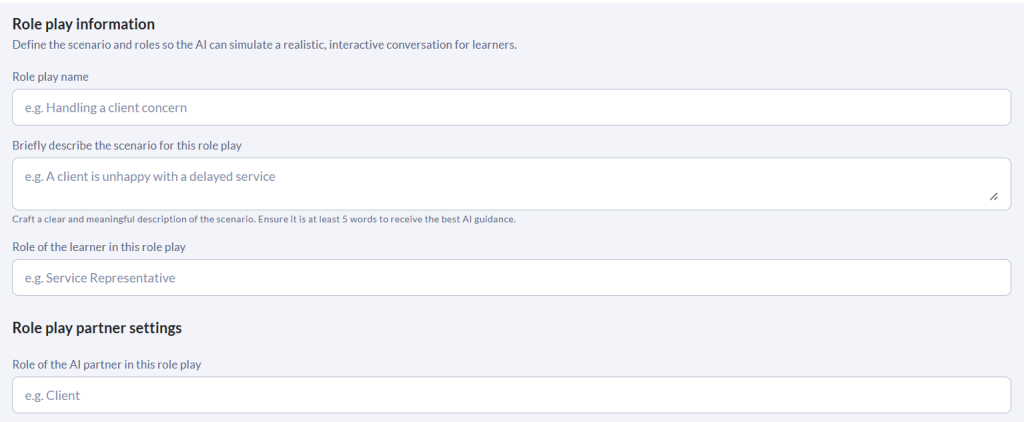
Role Play Information
- Role play name: Enter a clear and descriptive name for the scenario.
Example: Handling a client concern - Scenario description: Provide a short description about the situation for this role play.
Example: A client is unhappy with a delayed service - Role of the learner: Enter the learner’s role in the conversation.
Example: Service Representative
Role Play Partner Settings
- Role of the AI partner: Enter the AI’s role in this scenario.
Example: Client
Note: AI will use inputs – Scenario, Role of the learner and AI to create this conversation.
Adding tests
- Click on the Add test button to add a graded or guided test for the course material.
- For guided tests, the Course Administrator can provide options that will guide the learner to the correct answer.
- For graded tests, they can set a pass criteria, and number of attempts.
- The scores are recorded based on which the instructor can evaluate the learners. Refer to this article to learn more about creating tests.
- Click on the Add question button to add questions (multiple choice or true or false question) directly to a test manually if the questions are unavailable in the question bank.
Note: When adding questions, select the tags that match the test. If no tag is selected, Admin will be notified and can still add the question, but it won’t be included in the test unless the right tags are used. Tags are important for linking questions to the test.
Creating multiple choice questions
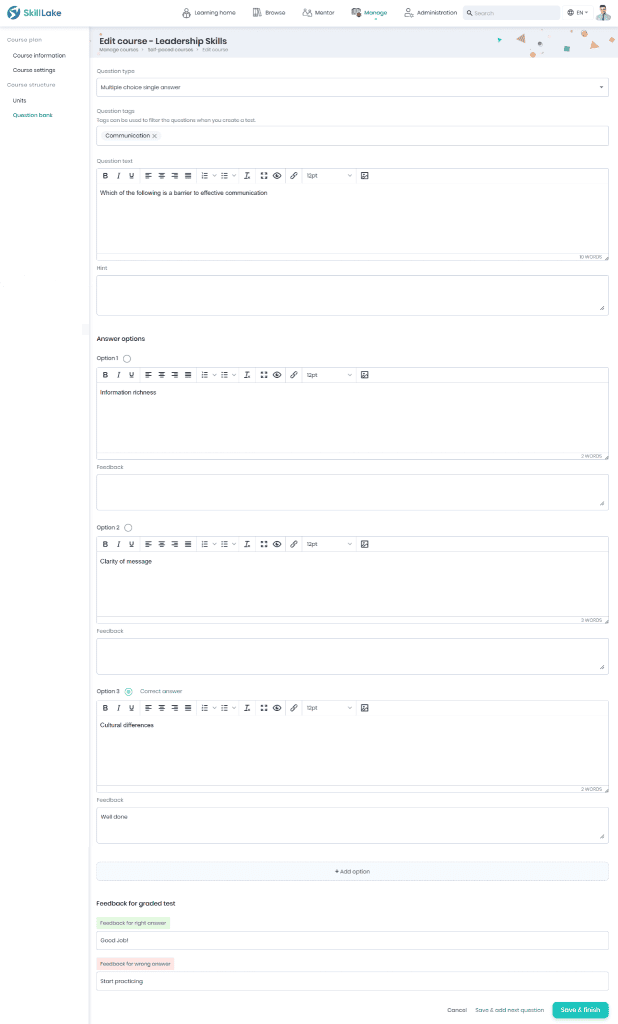
- Click on the Create Question button to create a question.
- Select the question type as ‘Multiple choice single answer’ and question tags (used to filter the relevant questions from the question bank while creating a test)
- Enter the question text and hint for the question (optional).
- Below that, you can enter the answer options (By default 3).
- If you want to add additional answer options (more than 3 options), you can do so by clicking on the Add option button.
- The option you mark as ‘Correct answer’ will be considered the correct answer for the question.
- The feedback you enter under each option is what the learner gets when they attempt a guided test, which is helpful for self-evaluation.
- Enter the feedback for correct and wrong answers for the graded test.
- Click on Save and add the next question button to add another question.
- Click on the Save & Finish button to save and complete adding questions.
Creating True or False questions

- Click on the Create Question button to create a question.
- Select the question type as ‘True or False’ and question tags (used to filter the relevant questions from the question bank while creating a test)
- Enter the question text and hint for the question (optional)
- In the Answer options, you can enter the true option and enter the feedback for the correct answer.
- Also, you can enter the false option and feedback for the incorrect answer.
- Enter the feedback for correct and wrong answers for the graded test.
- Click on Save and add the next question button to add another question.
- Click on the Save & Finish button to save and complete adding questions.
Previewing the course
- At any point, while creating the course, you can click on the “Preview” button to check the learner view of the contents or course parameters that have been added (provided you have the required roles and permissions).
- A confirmation message appears, where you have to click on the Confirm button to preview the course.
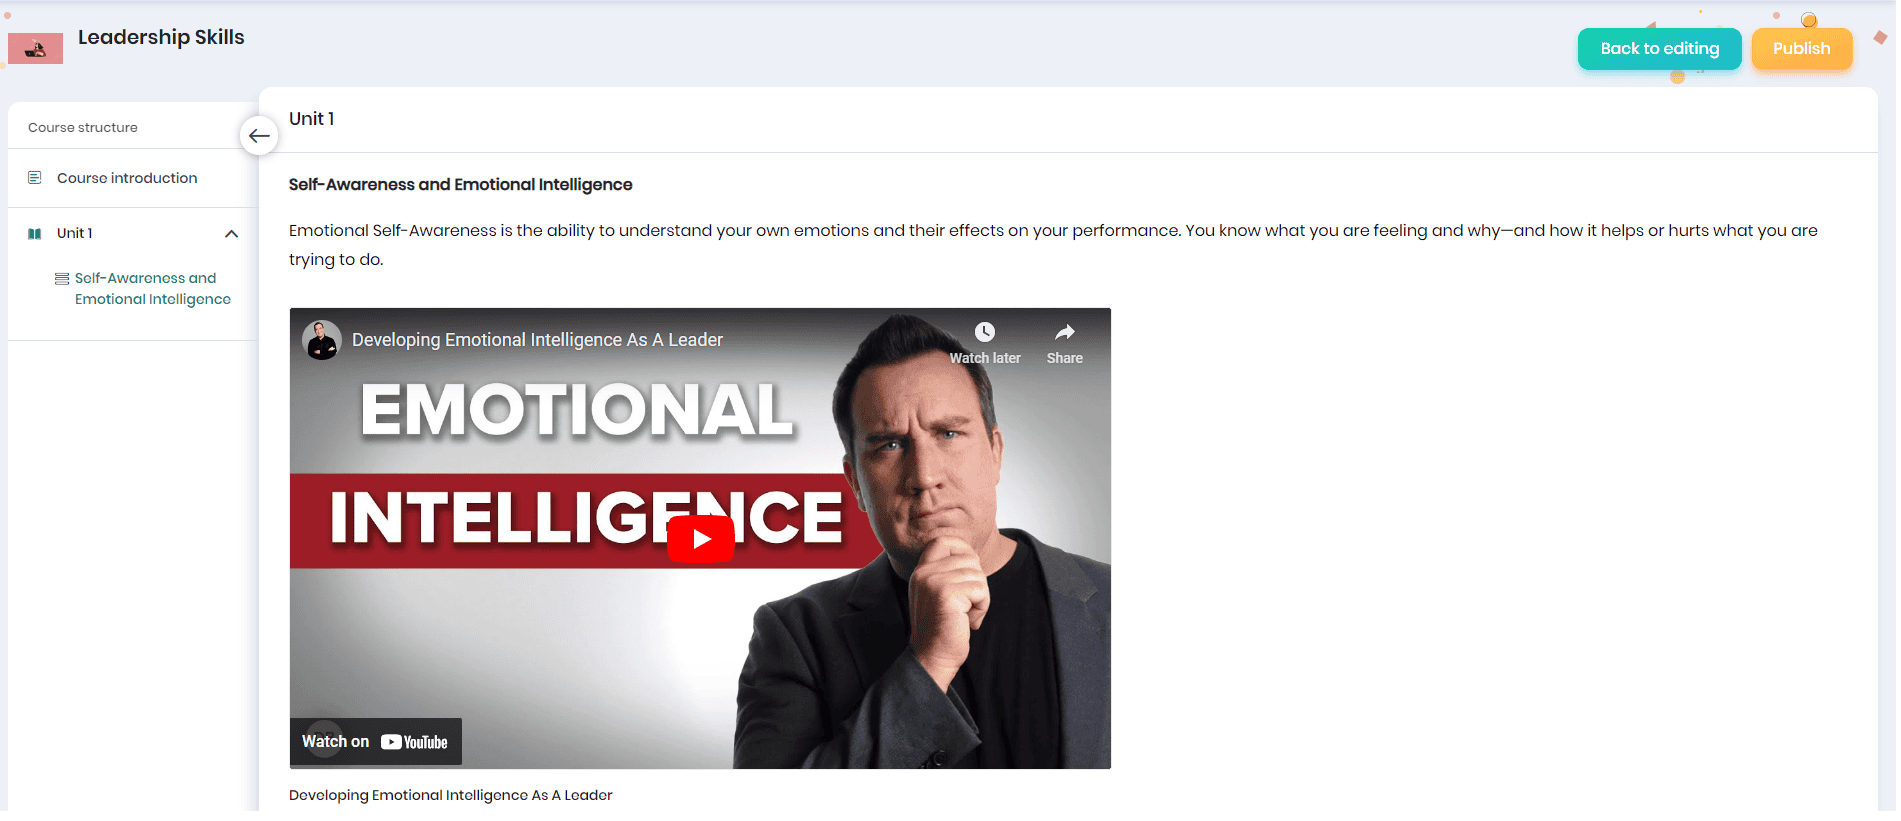
- Click on the Back to editing button to continue editing the course material.
Publishing the course
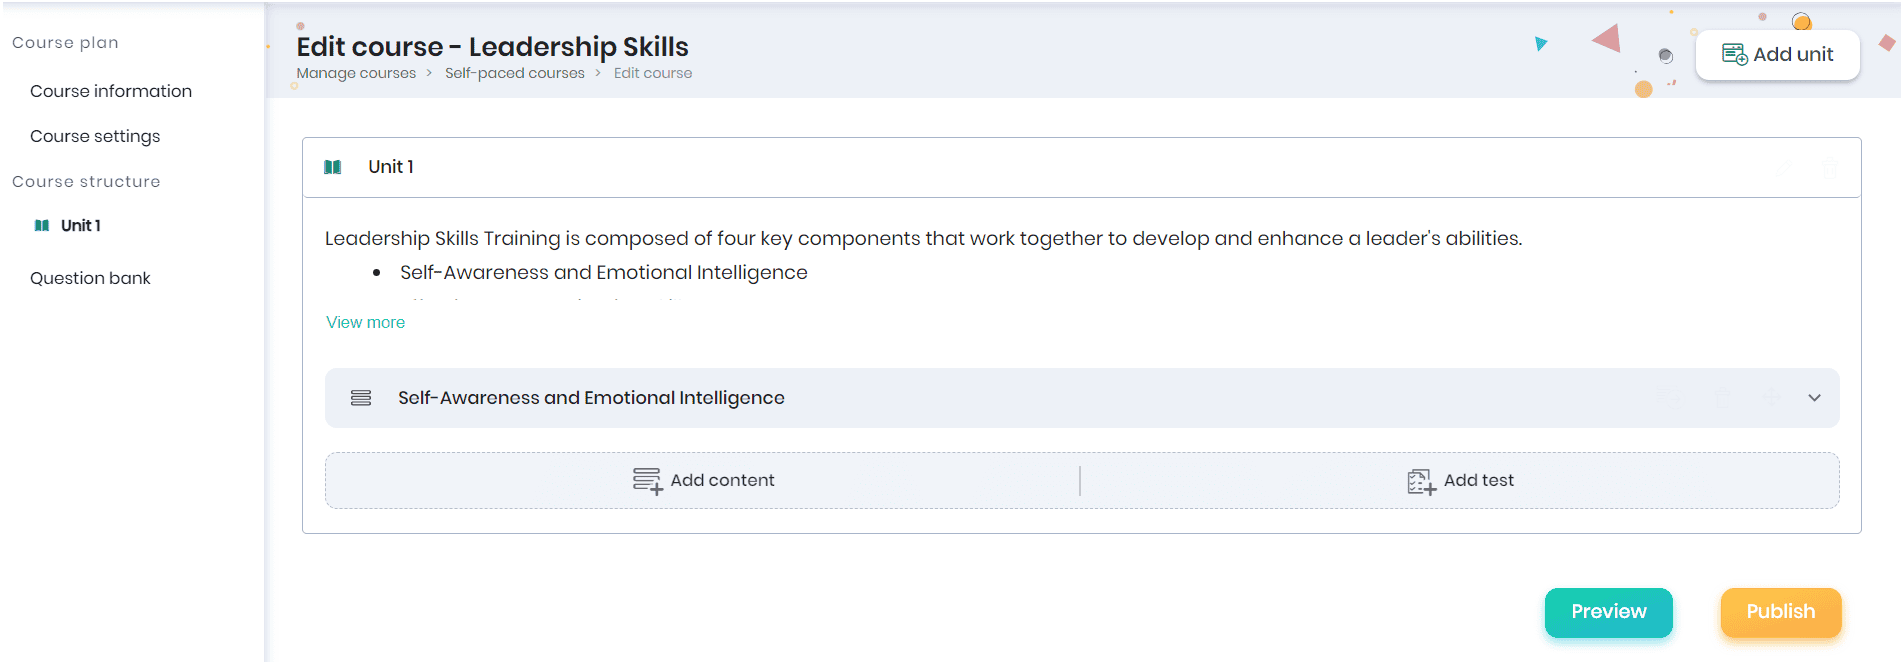
- Click the Publish button to publishthe course when you are done (provided you have the required roles and permissions).
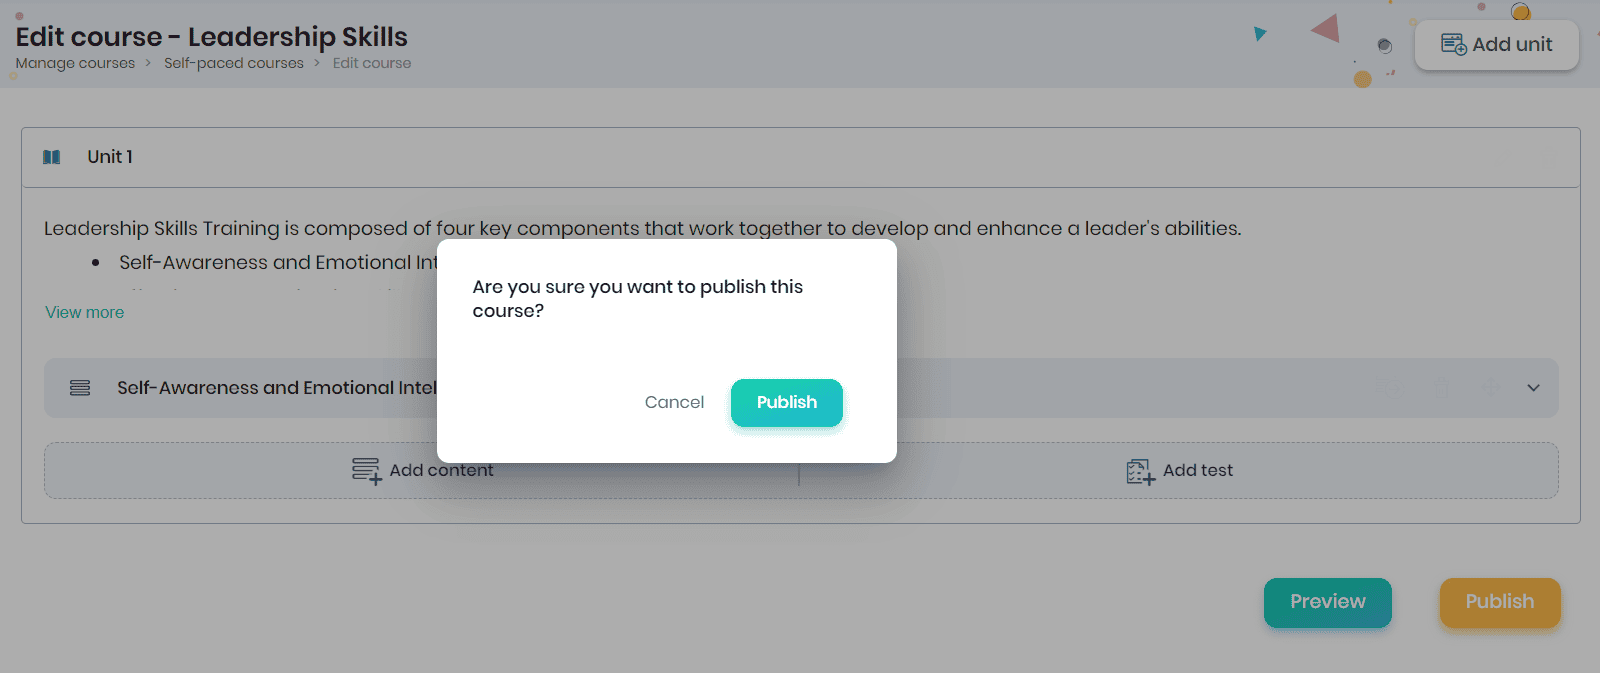
- A confirmation message appears, where you have to click on the Publish button.
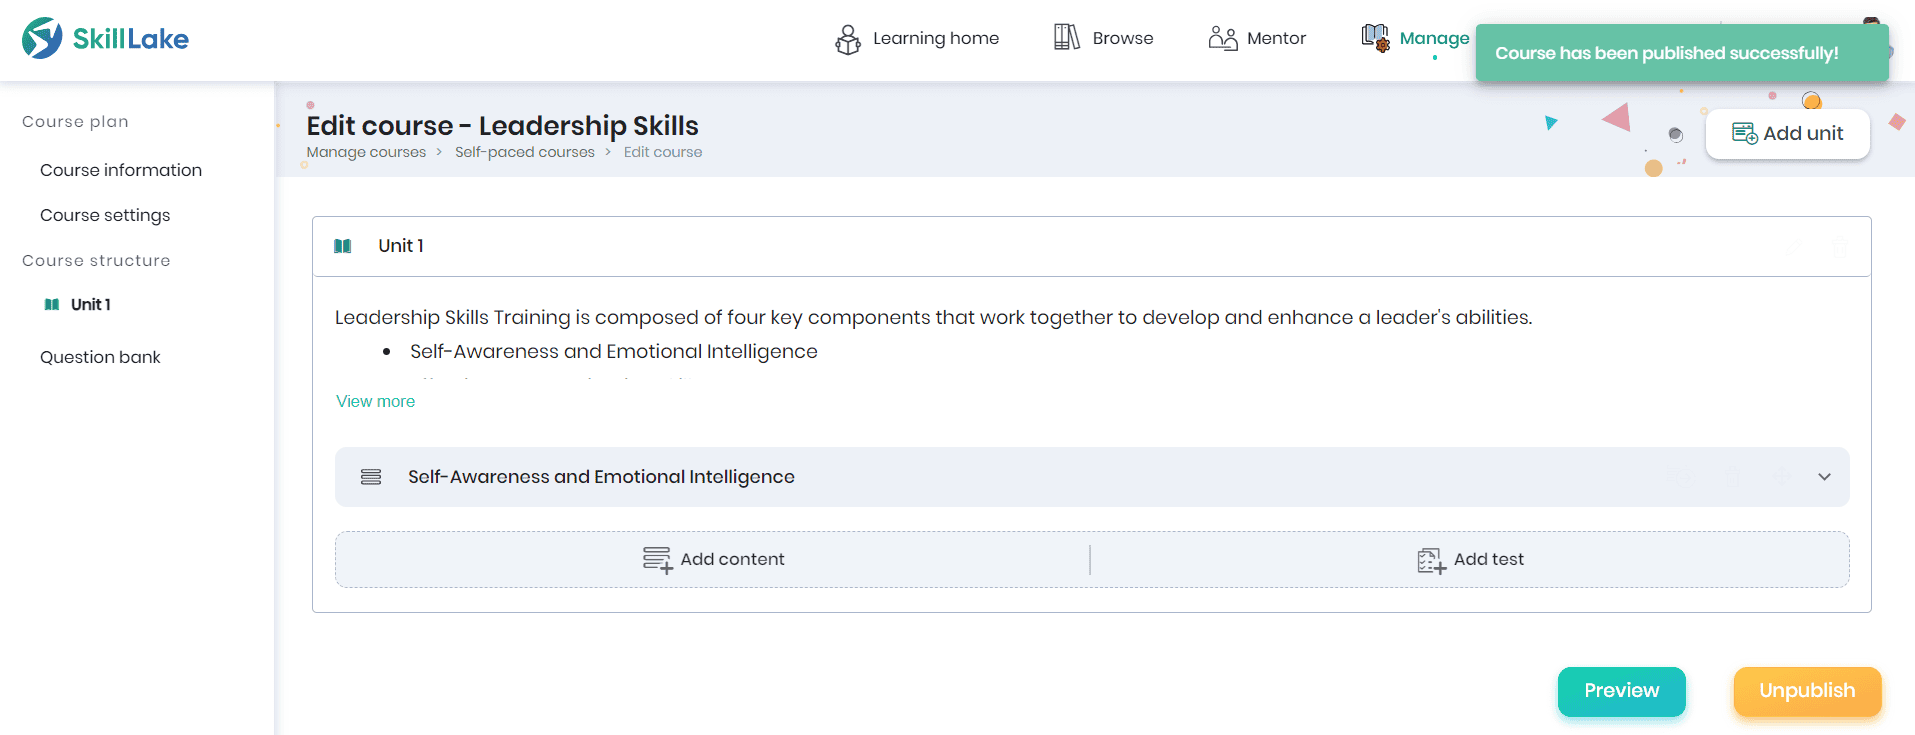
- The published courses will be listed for the assigned groups/sub groups/learning groups in the Manage Courses tab.
Note: The course visibility is based on the roles and permissions set through Administration > Settings > Roles and permissions.
- The user can view all the courses created by their group members provided he has ‘All’ permissions.
- The user can view all the courses he has created in the Manage > Self paced courses.
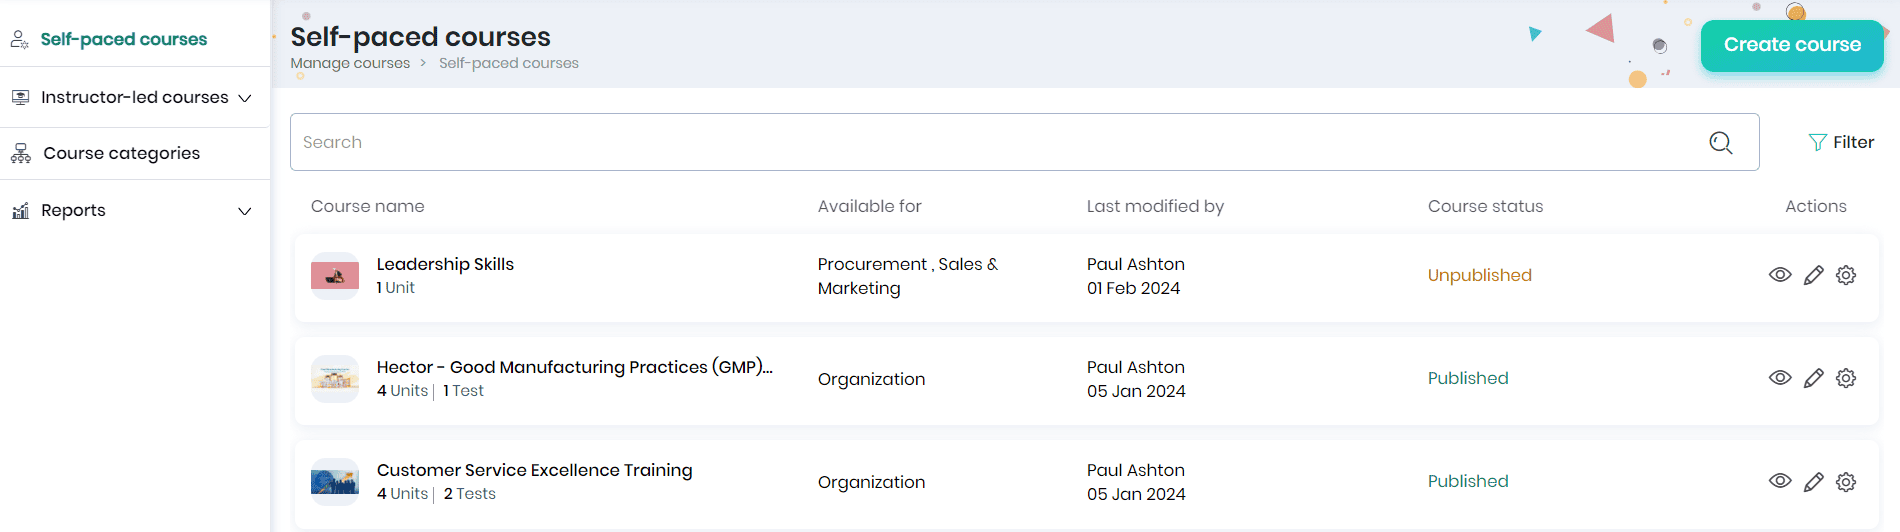
- You can view the course name, available for, last modified by, course status and various actions that can be performed for this course.
- You can search for a particular course and also filter the course based on the course category, course status, course level, and available for.
- Click on the Preview icon to get a preview of the self paced course.
- To edit the course details, click on the Edit icon.
- Click on the Settings icon and click
- ‘Unpublish’ option to unpublish this course.
- ‘Duplicate’ to make a duplicate copy of this course.
- ‘Archive’ option to archive this course.
- ‘Delete’ option to delete this course.
Note: All the above actions can be performed if the user has the required roles and permissions.