Creating Books with your content
A reference book is a type of book designed to be consulted for specific information. These books are often used as authoritative sources for facts, data, and quick information retrieval. Reference books come in various forms and cover a wide range of subjects.
Creating a book
To create a new book, click on the Manage > Books tab. You will be navigated to the Books page where you can click on the Create book button and select With your content option to start creating books (provided you have the required roles and permissions).

Book Information
In this section, you may provide the basic information of the book.
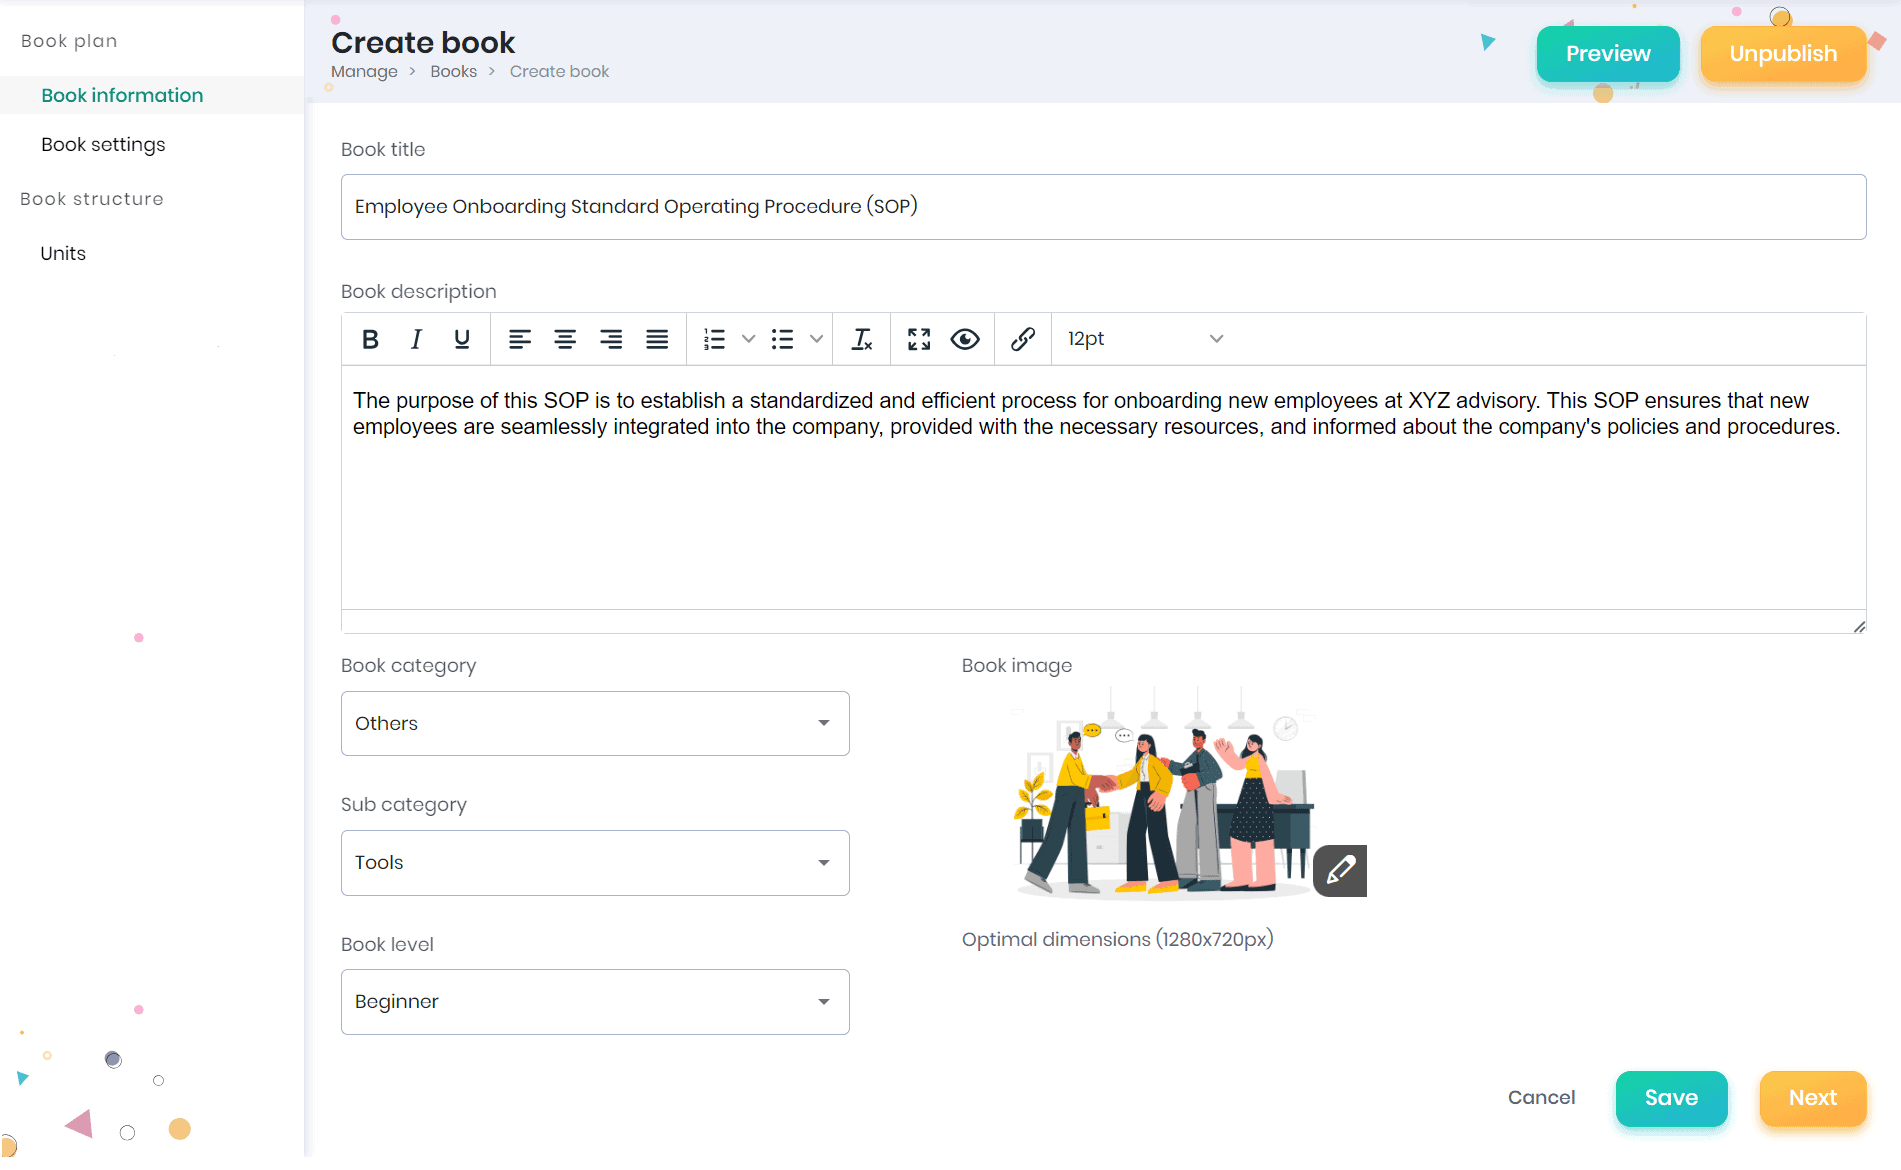
In the Book Information section:
- Enter the book title and book description
- Select the book category, sub-category, book level, and book image
- Click on the Save button to navigate to the Book Settings section.
Book Settings
This section helps you to configure the book author, book owner, and groups/subgroups to which book is accessible for.
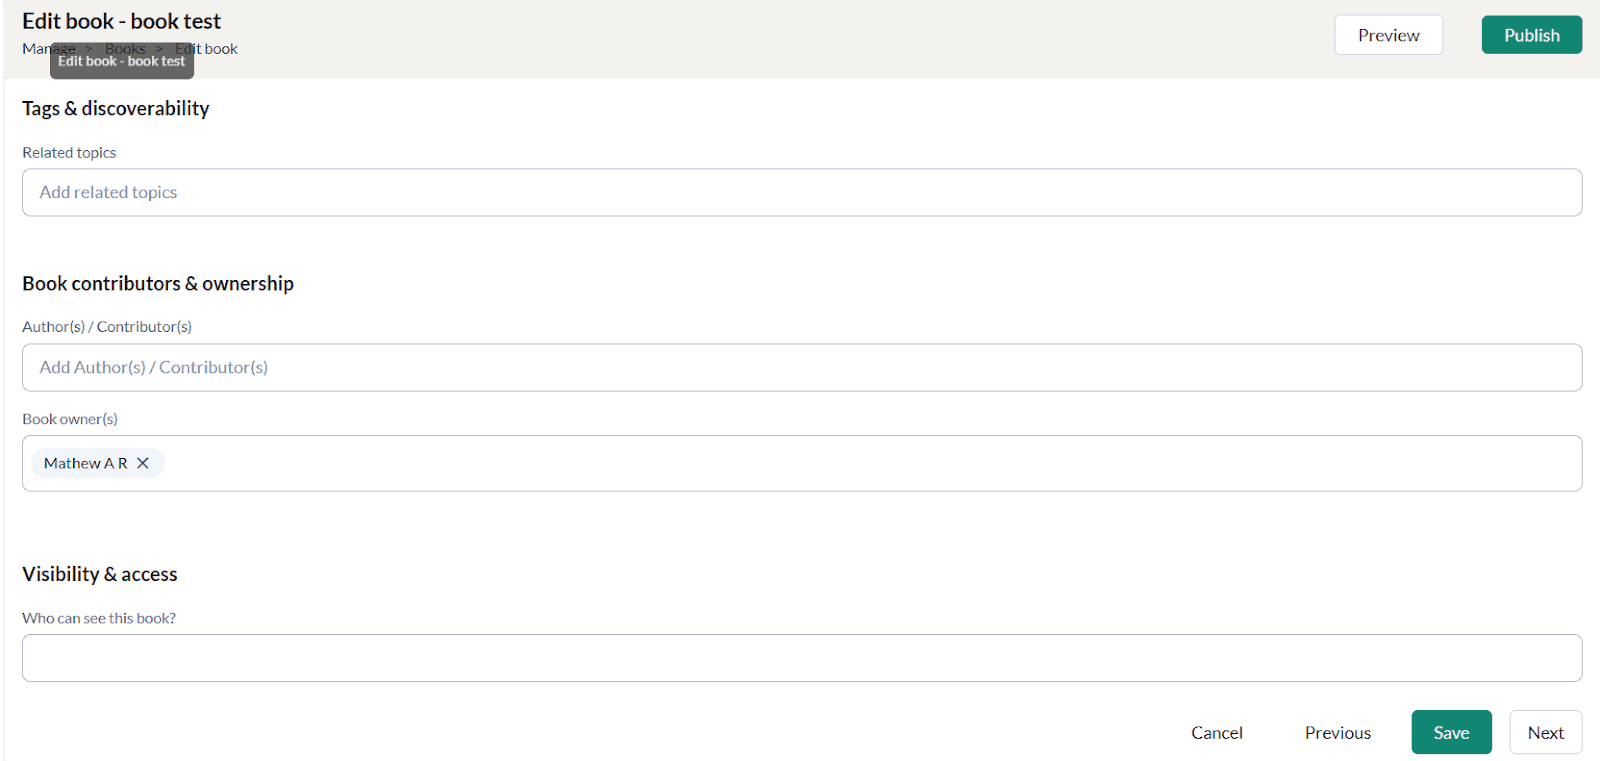
Book Settings helps you to configure the:
- Search tags or Topics to which the book is related to (tags based on which the book can be searched)
- Authors or Contributors (external or internal authors) are entered to acknowledge their contributions and give them due credit.
- Book owner(s) (book owner can manage the book provided he/she has the required roles and permissions)
- Who can see this book (groups/learning groups/sub groups to which this book is available). Book will be available for the members of the selected groups, learning groups and their subgroups.
- Click on the Cancel button to cancel the book settings.
- To go to the Book Information section, click on the Previous button. A confirmation message appears, where you may click on the Confirm button.
- Click on the Save button to save the book settings.
- Click on the Next button to navigate to the next screen to create the book units.
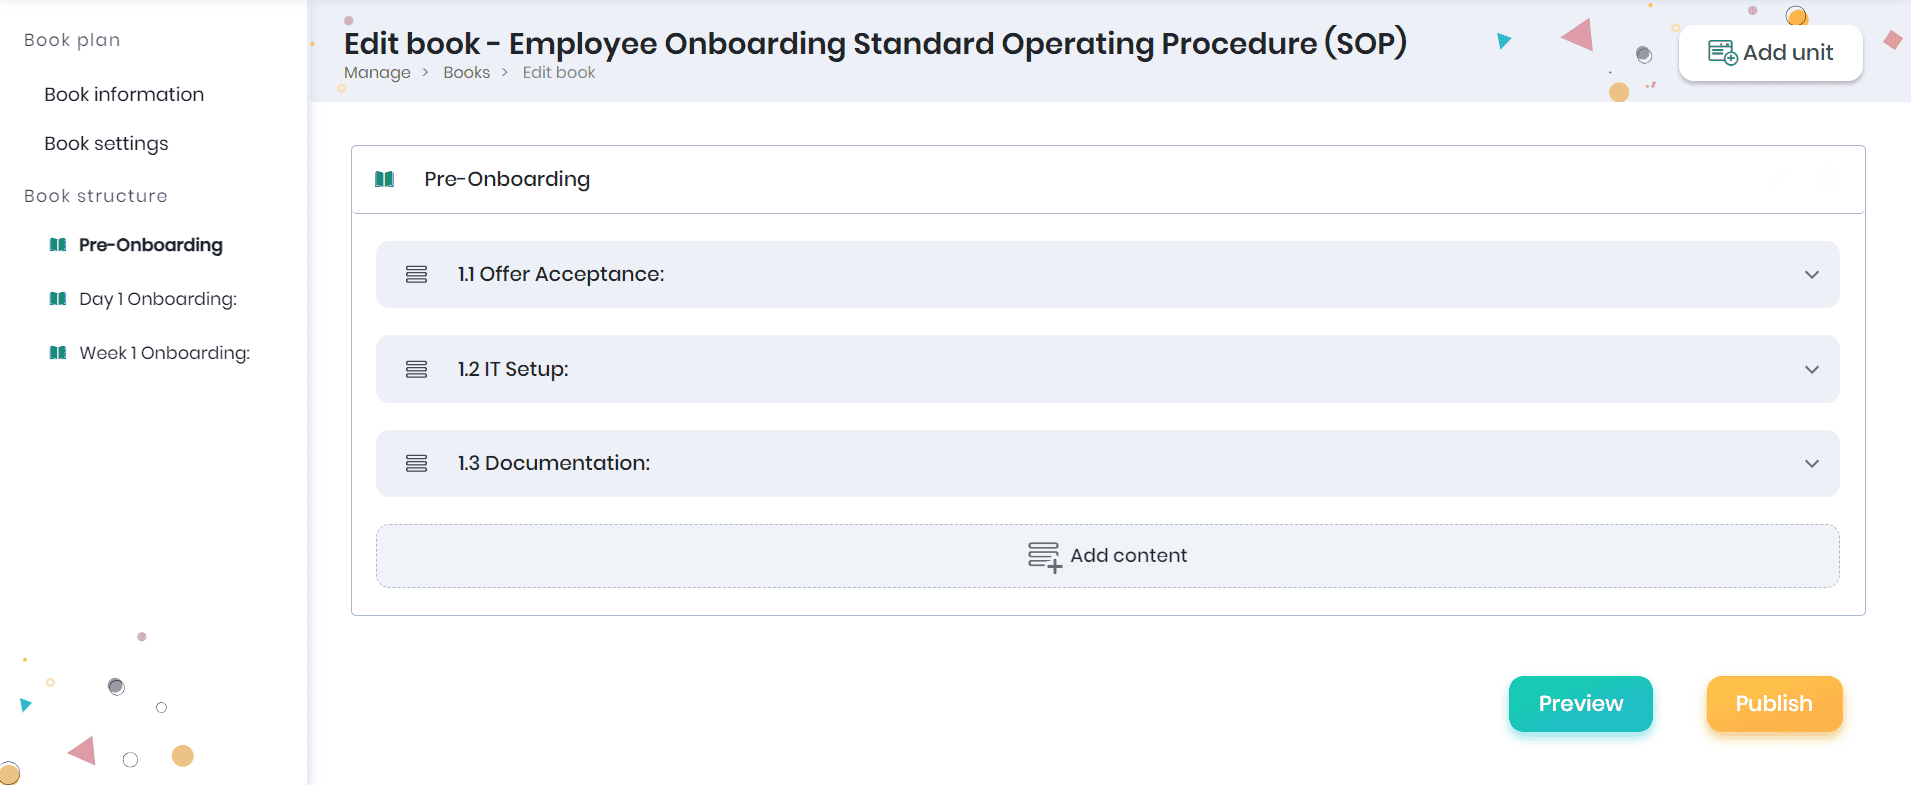
Book Structure
A book is structured as a set of “Units”. Each unit can have one or more “Content” blocks Creating a unit in a book is similar to creating a unit in a course. Please refer to the Course Structure of Self-paced courses for more information.
Previewing the book
At any point, while creating the book, you can click on the “Preview” button to check the learner’s view of the contents (provided you have the required roles and permissions). A confirmation message appears, and you have to click on the Confirm button to preview the book.
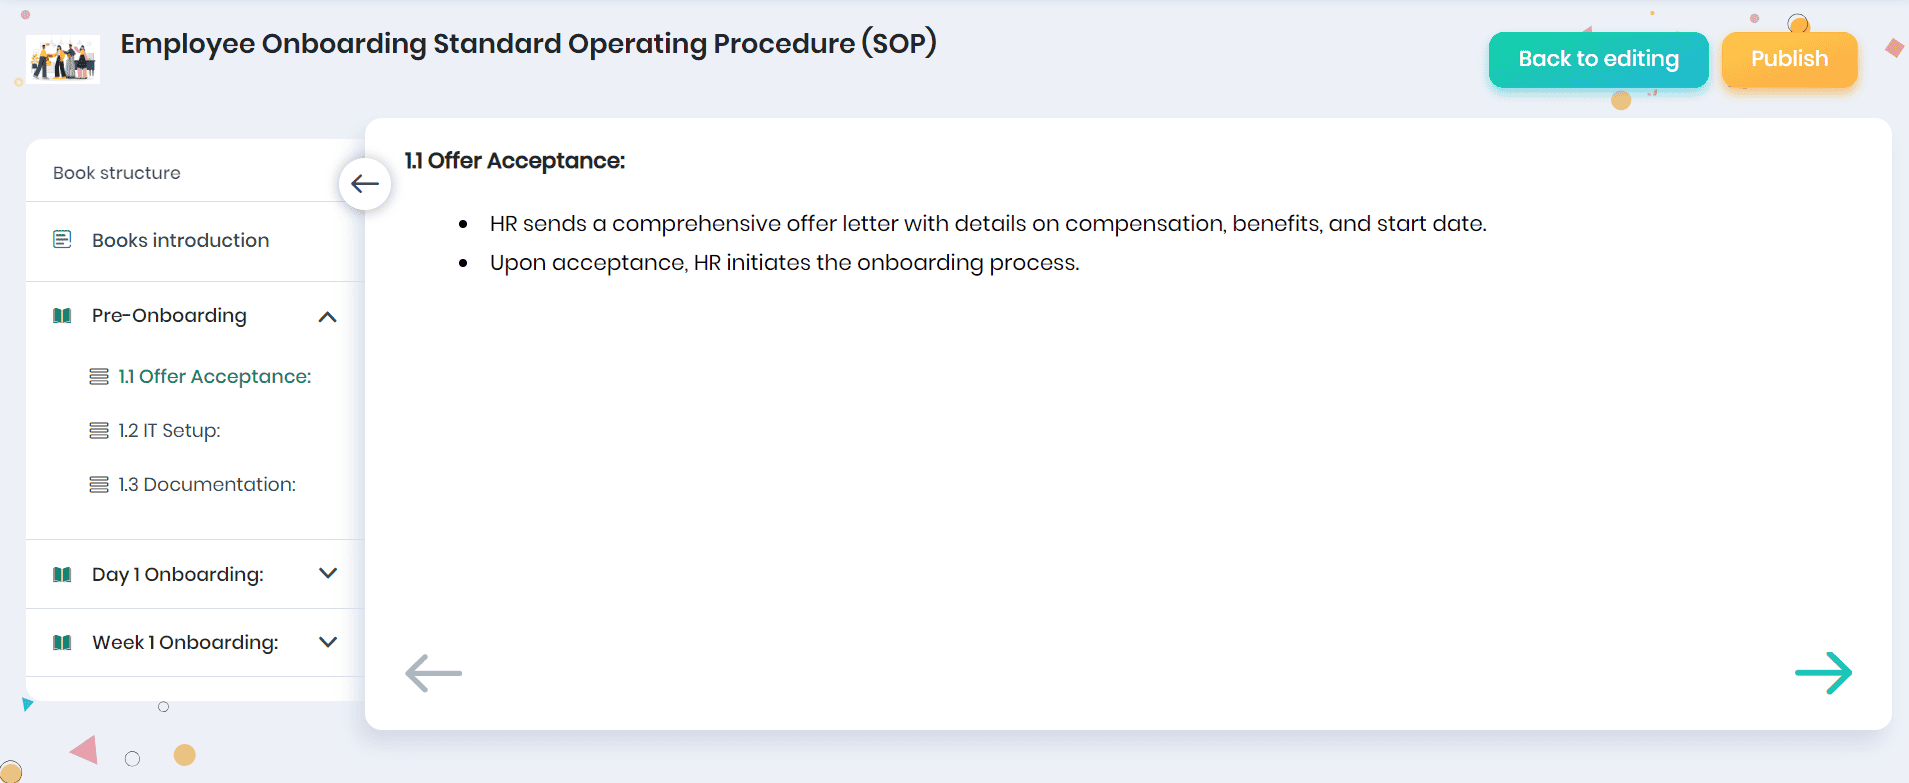
- Click on the Back to editing button to continue editing the book material.
Publishing the book
- Click the Publish button to publish the book when you are done (provided you have the required roles and permissions).
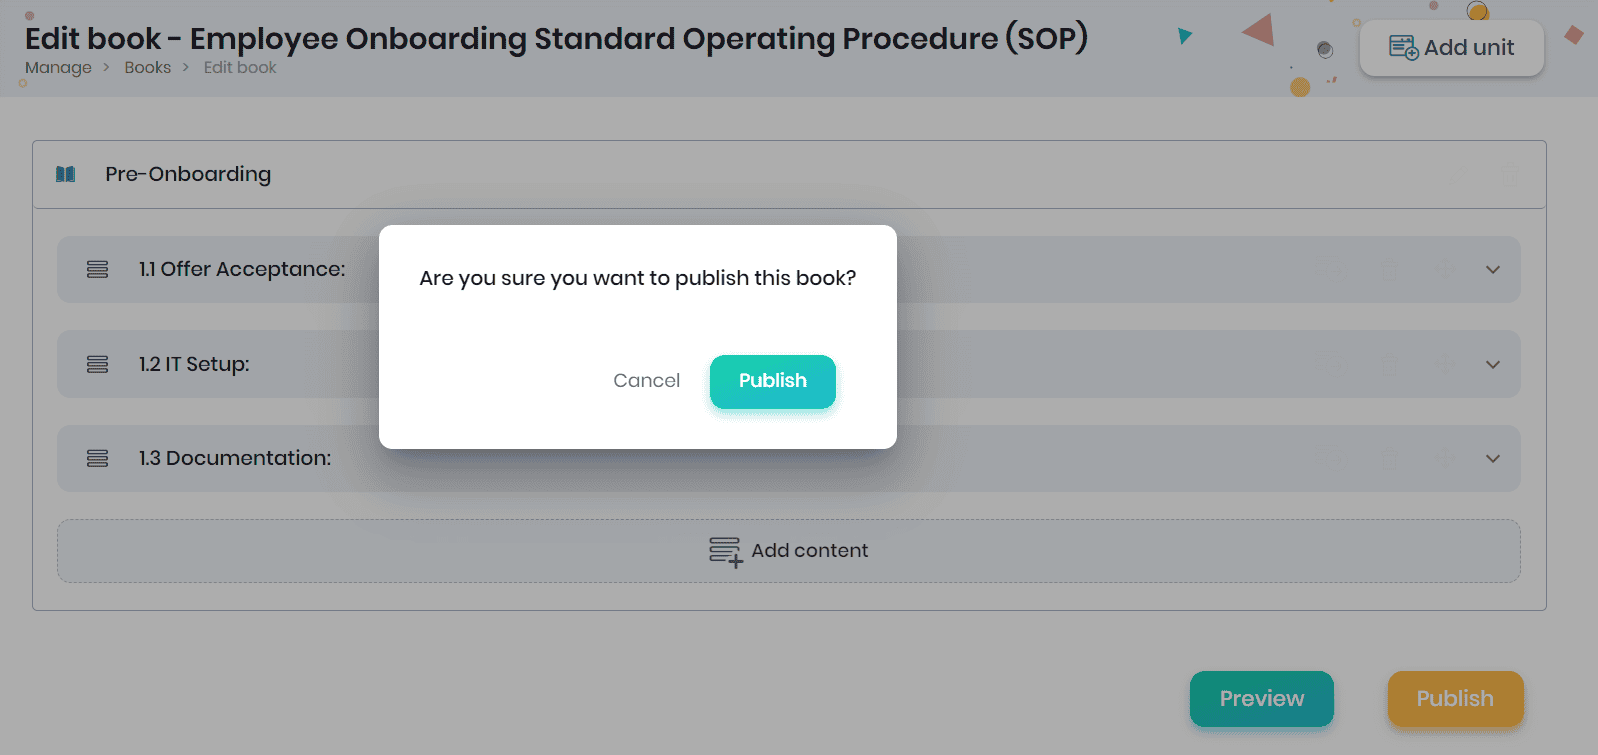
- A confirmation message appears, where you have to click on the Publish button.
- The published book will be listed for the members of the assigned groups/sub groups/learning groups in the Browse Books tab.
Note: The book visibility is based on the roles and permissions set through Administration > Settings > Roles and permissions.
- The user can view all the books created by their group members provided he has ‘All’ permissions.
- The user can view all the books he has created in the Manage > Books.
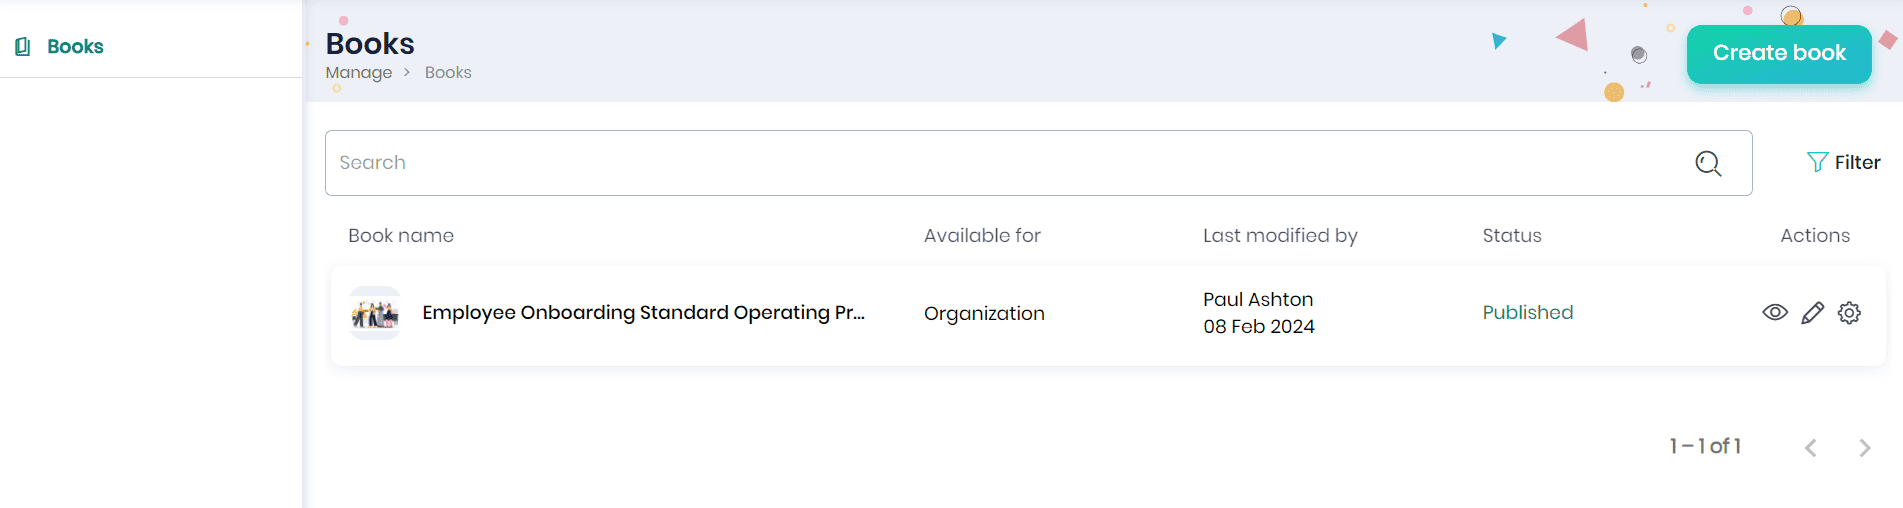
- You can view the book name, available for, last modified by, book status and various actions that can be performed for this book.
- You can search for a particular book and also filter the book based on the book category, status, level, and available for.
- Click on the Preview icon to get a preview of the book.
- To edit the book details, click on the Edit icon.
- Click on the Settings icon and click
- ‘Unpublish’ option to unpublish this book.
- ‘Duplicate’ to make a duplicate copy of this book.
- ‘Archive’ option to archive this book.
- ‘Delete’ option to delete this book.
Note: All the above actions can be performed if the user has the required roles and permissions.