Creating Self-Paced Courses using AI course generator
The Content Creator (users with Content Creation privileges), Administrator (users with Administrative privileges), or any user with permission to create courses can create self paced courses with the AI course generator.
The AI course generator generates the course based on the course topic, expected course outcome, target audience and their skill level.
Navigating to Course Creation
- Go to Manage > Courses.
- You will be navigated to the Self-paced courses page.
- Click Create course > With AI course generator to begin.

Entering Course details
You will navigate to the Create details page to enter the course’s basic information.
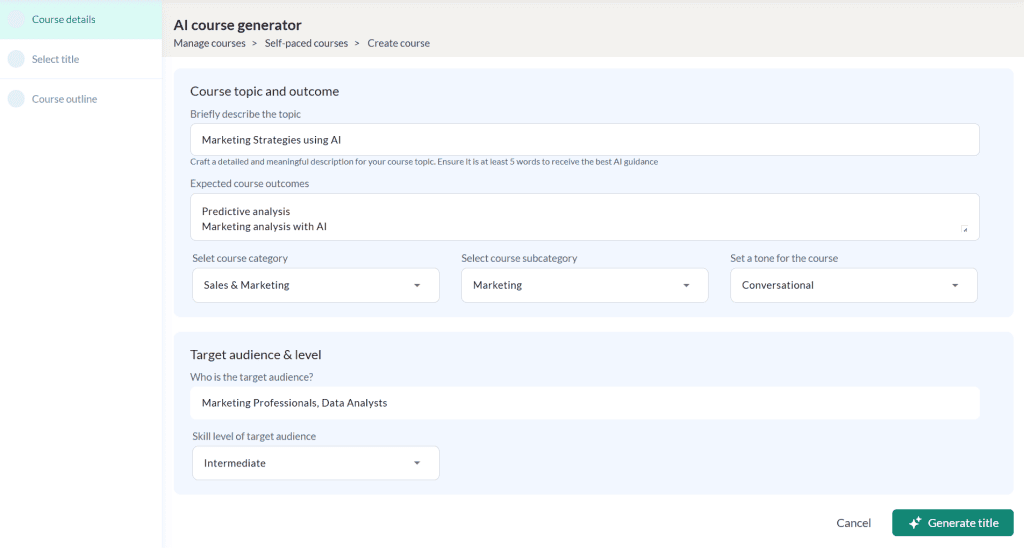
In the Course details section:
- Enter the course topic and expected outcome
- Select the course category, sub-category, and tone
- Enter the target audience for the course
- Select the skill level of the target audience
- Click Generate title button to navigate to the Select title section.
Note: The AI will process the provided information and suggest relevant course titles.
Selecting course title
In this section, choose a course title from the AI-generated suggestions and click Generate outline to proceed.
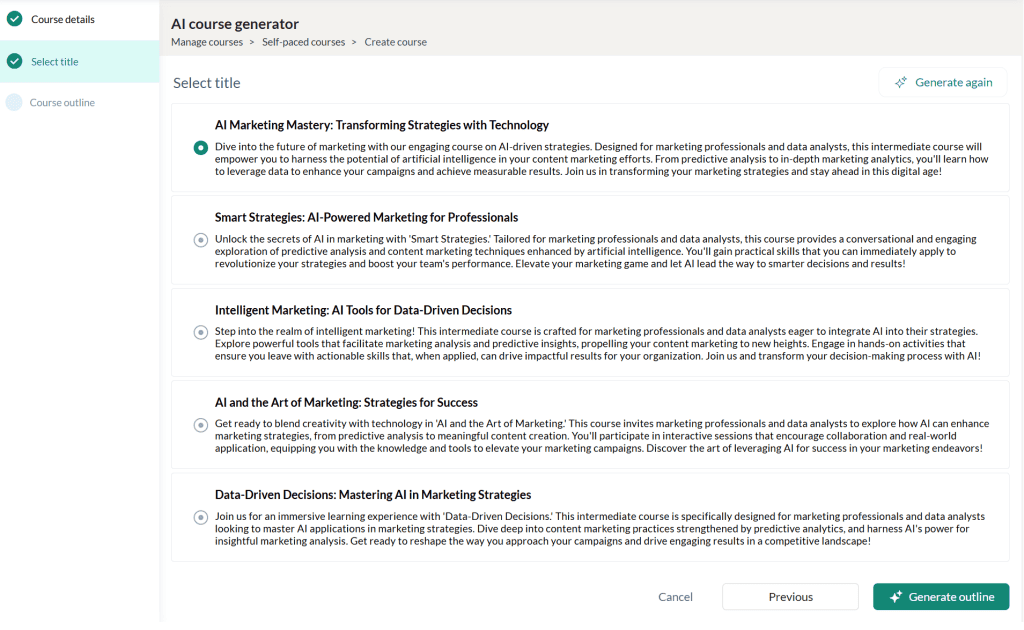
Note: Click the Generate Again button to regenerate the titles using refined content.
Generating Course Outline
The AI course generator will create an outline with five unit titles. You can rearrange these unit titles as needed.
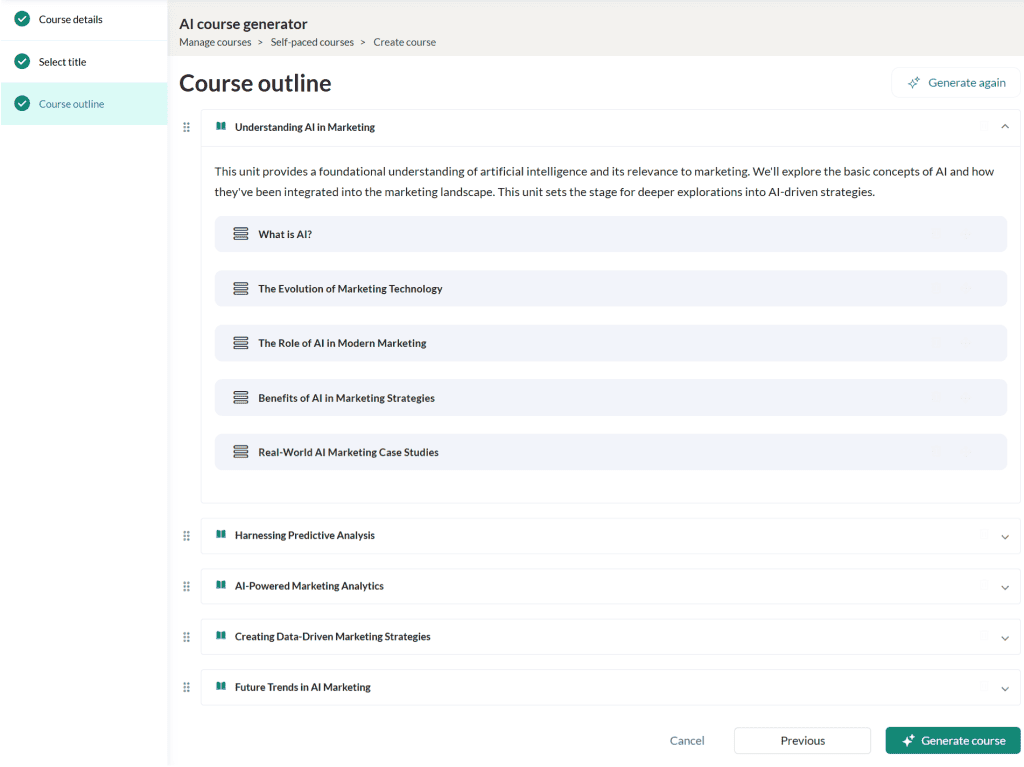
- Click Generate Course to have AI generate the course content.
Note: Click Generate Again to regenerate the course content with refined input.
- To make changes, click Back to Editing to return to the Course Plan page. Refer Course Information and Course Structure for more details.
Adding units
- Click on the Add Unit button on the right side to add more units to the course.
Adding tests
Click the Add test button to to include a graded or guided test in the course.
- Guided Test: Allows the Course Administrator to provide hints or choices to guide the learner to the correct answer.
- Graded Test: The administrator can set pass criteria and the number of attempts. Scores will be recorded and can be used by the instructor to evaluate learner performance. Refer to this article to learn more about creating tests.
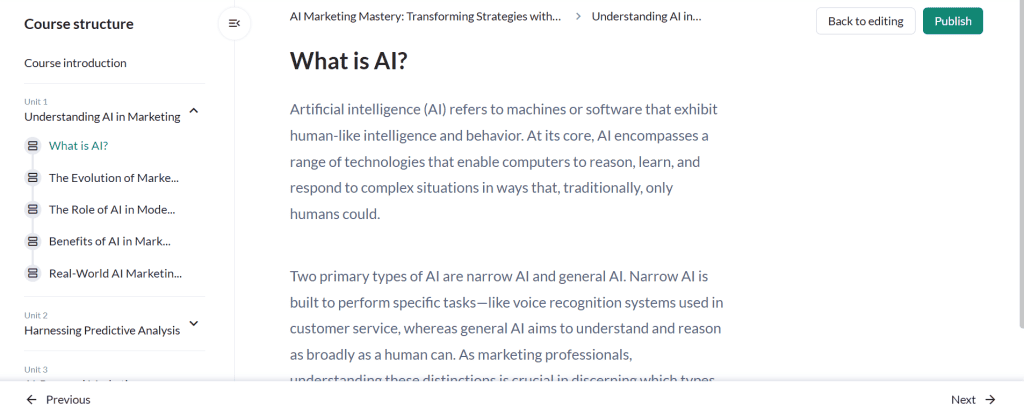
Previewing the course
- At any stage during course creation, you can click the Preview button to see the course from the learner’s perspective (if you have the required roles and permissions).
- A confirmation message will appear. Click Confirm button to preview the course.
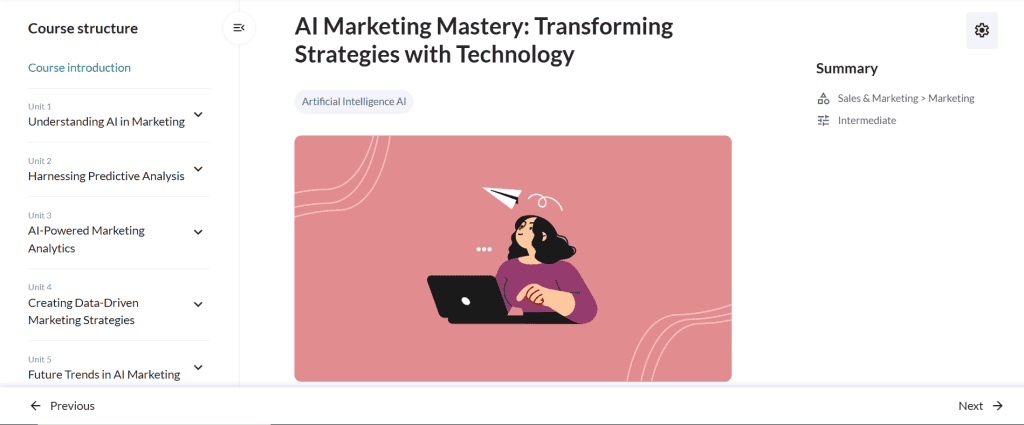
- Click on the Back to editing button to continue editing the course material.
Publishing the course
When you are done, click the Publish button to publish the course (provided you have the required roles and permissions).
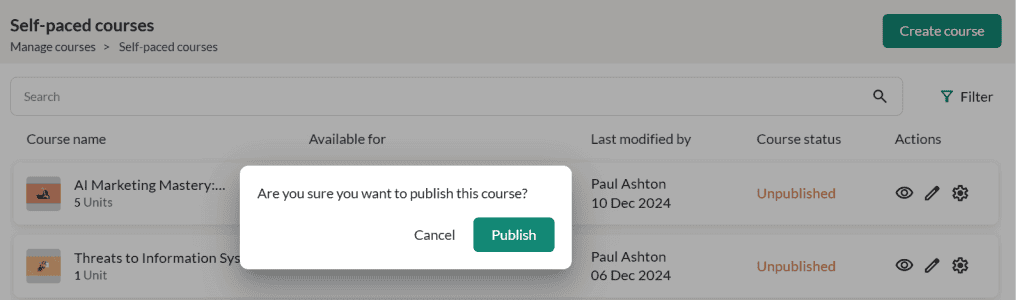
- A confirmation message appears, where you have to click on the Publish button.
- The course will then appear under the Manage Courses tab for the assigned groups, subgroups, or learning groups.
Note: Course visibility is governed by the roles and permissions set via Administration > Settings > Roles and Permissions.
- Users with All permissions can view all courses created by their group members.
- Users can always view courses they have personally created under Manage > Self-paced courses.
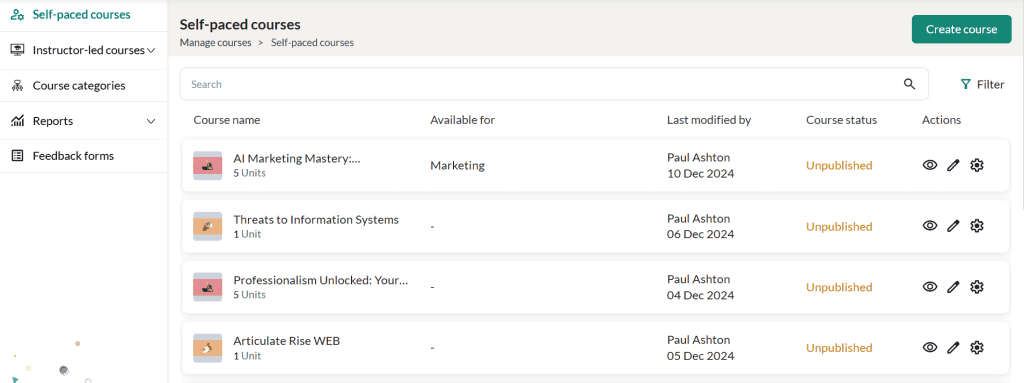
Course Actions
- You can view the course name, available for, last modified by, course status and various actions that can be performed for this course.
- You can search for a particular course and also filter the course based on the course category, course status, course level, and available for.
- Click on the Preview icon to get a preview of the self paced course.
- To edit the course details, click on the Edit icon.
- Click on the Settings icon and click:
- ‘Unpublish’ option to unpublish this course.
- ‘Duplicate’ to make a duplicate copy of this course.
- ‘Archive’ option to archive this course.
- ‘Delete’ option to delete this course.
Note: All the above actions can be performed if the user has the required roles and permissions.